How to configure Single Sign On automatic user creation
Automatic user creation automatically generates new user accounts on your behalf when your users go through the SSO authenticate process. This feature provides granular control of what user roles Aembit assigns to new users it creates. For more details, see how automatic user creation works.
Technical: SAML attribute requirements
Section titled “Technical: SAML attribute requirements”For SAML 2.0 Identity Providers, Aembit looks for the presence of the following claim elements in the SAML response to create new user accounts:
-
A
NameIDelement containing the user’s email address. If theNameIDelement isn’t present or the value isn’t a valid email address, Aembit searches for thehttp://schemas.xmlsoap.org/ws/2005/05/identity/claims/emailaddressclaim instead. If Aembit finds neither, the automatic user creation process stops. -
Both
http://schemas.xmlsoap.org/ws/2005/05/identity/claims/givennameandhttp://schemas.xmlsoap.org/ws/2005/05/identity/claims/surnameto populate a user’s first and last names, respectively. Otherwise, Aembit populates a user’s first and last names with their email address. -
An
AttributeStatementelement with at least oneAttributechild element with an attribute value matching the configuration data entered on the Mapping tab of the Identity Provider page. This match is necessary to determine which roles Aembit assigns to the new user account. If Aembit doesn’t find a matching attribute value, Aembit won’t create the new user account.
Prerequisites
Section titled “Prerequisites”To enable automatic user creation in your Aembit Tenant, you must have the following:
-
A Teams or Enterprise subscription plan.
-
Your Identity Provider’s (IdP) SAML group claim information attribute names and values.
Common IdP attribute names
Section titled “Common IdP attribute names”Different Identity Providers use different attribute names for group claims. The following table lists common SAML attribute names for groups:
| Identity Provider | SAML Attribute Name for Groups |
|---|---|
| Okta | groups |
| Azure AD / Entra | http://schemas.microsoft.com/ws/2008/06/identity/claims/groups |
| Google Workspace | groups |
| OneLogin | memberOf |
Your IdP may use different names. Check your IdP’s SAML configuration or documentation for the correct attribute names.
Map IdP SAML attributes to Aembit user roles
Section titled “Map IdP SAML attributes to Aembit user roles”To map the group information sent from your Identity Provider to the roles available in your tenant, follow these steps:
-
Log into your Aembit Tenant.
-
Click Administration in the left sidebar.
-
At the top, select Administration ☰ Identity Providers.
Aembit displays the Identity Providers page with a list of existing Identity Providers.
-
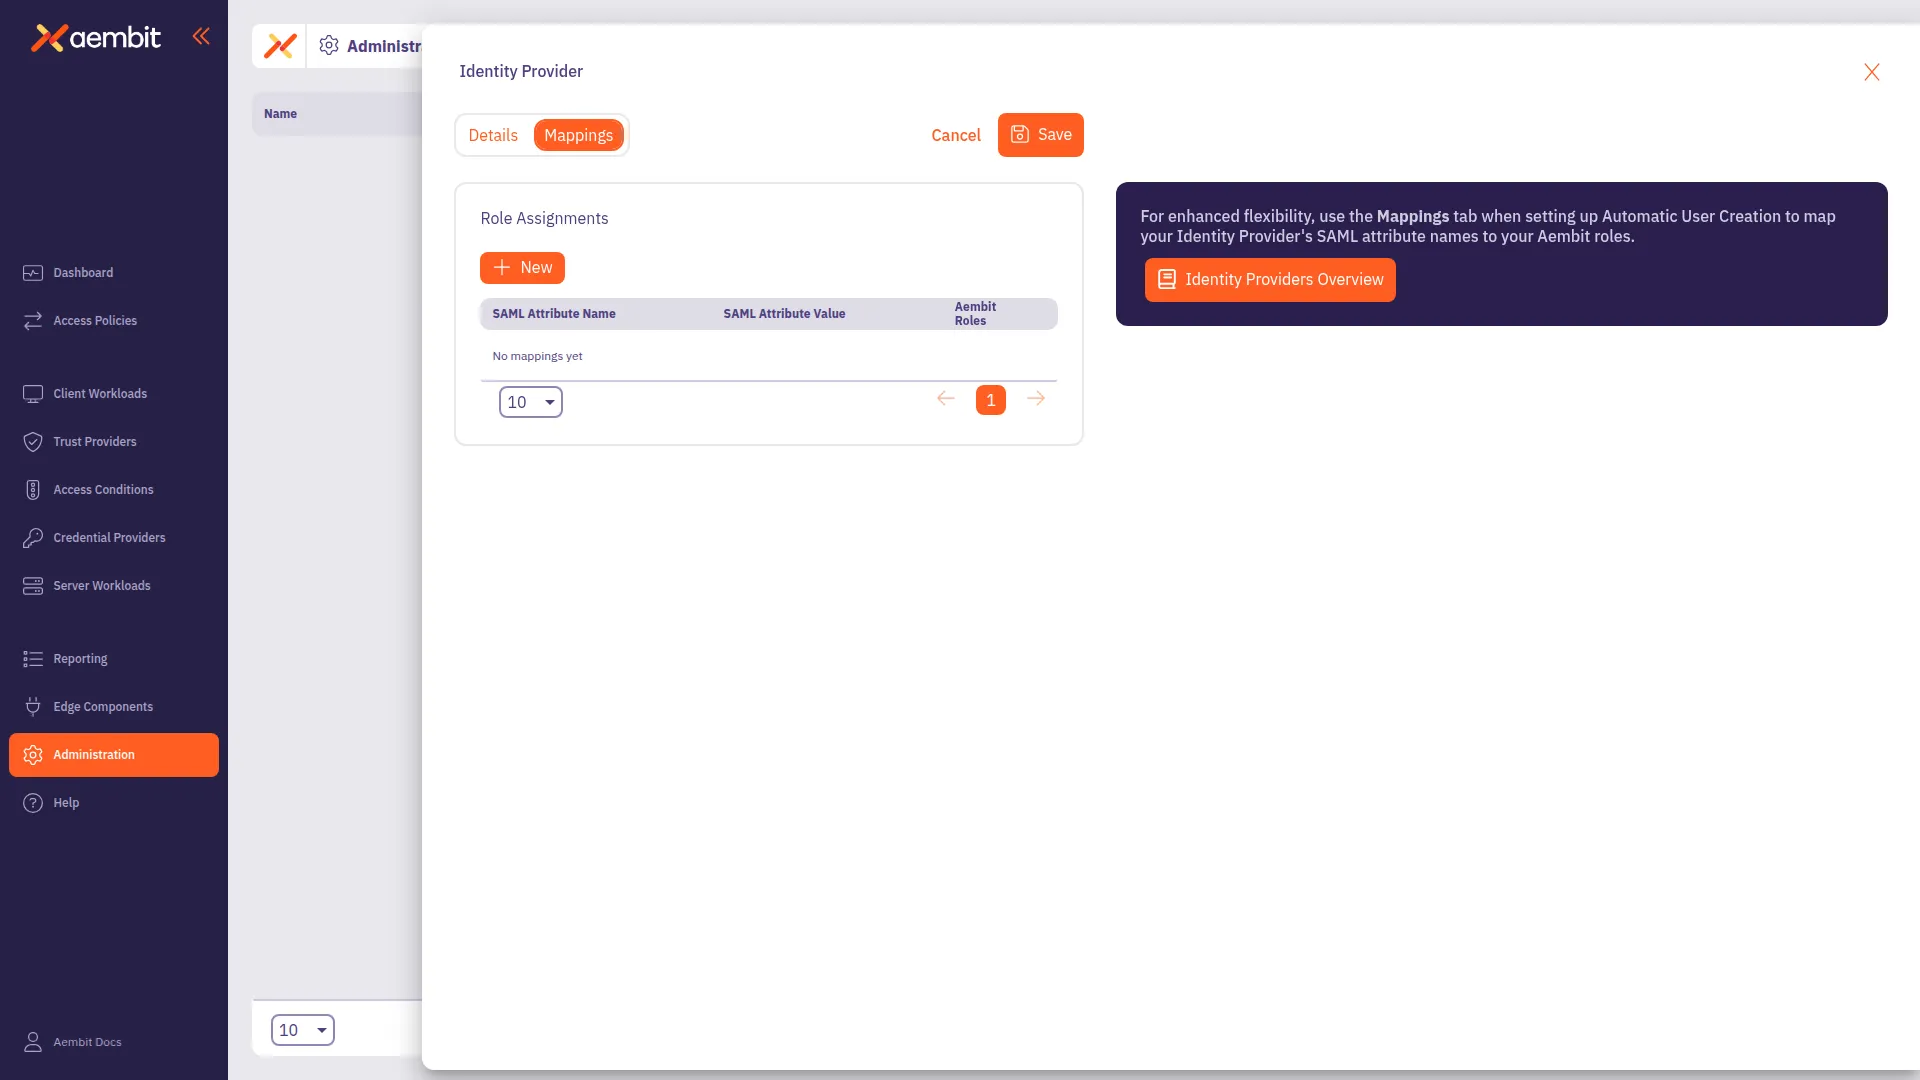
Create a new Identity Provider or edit an existing one, and then select the Mappings tab.
-
Click Edit if not already in edit mode.
-
Click + New, which adds a new row to the table Role Assignments table.
-
In the SAML Attribute Name column, use the dropdown to select an existing attribute name or click ”+” to add a new one. Make sure the values correspond to the groups defined in your Identity Provider.
-
In the SAML Attribute Value column, use the dropdown to select an existing attribute value or click ”+” to add a new one. Make sure the values correspond to the groups defined in your Identity Provider.
-
In the Aembit Roles column, use the dropdown to select one or more Aembit roles.
-
If needed, repeat the previous four steps.
-
Click Save.
Examples: Mapping attributes to Aembit roles
Section titled “Examples: Mapping attributes to Aembit roles”The following examples show how to map Identity Provider attributes to Aembit roles for both SAML and OIDC protocols.
SAML attribute mapping example
Section titled “SAML attribute mapping example”For SAML Identity Providers like Azure AD, group claims use specific attribute names:
First mapping:
- SAML Attribute Name:
http://schemas.microsoft.com/ws/2008/06/identity/claims/groups - SAML Attribute Value:
AembitAdmins - Aembit Roles: Administrator
Second mapping:
- SAML Attribute Name:
http://schemas.microsoft.com/ws/2008/06/identity/claims/groups - SAML Attribute Value:
AembitViewers - Aembit Roles: Viewer
This configuration means: Users in the “AembitAdmins” group in Azure AD are automatically created with Administrator role in Aembit. Users in the “AembitViewers” group are automatically created with Viewer role.
OIDC attribute mapping example
Section titled “OIDC attribute mapping example”For OIDC Identity Providers like Azure AD with OIDC, attribute names differ from SAML:
First mapping:
- OIDC Claim Name:
groups - OIDC Claim Value:
AembitAdmins - Aembit Roles: Administrator
Second mapping:
- OIDC Claim Name:
groups - OIDC Claim Value:
AembitViewers - Aembit Roles: Viewer
Understanding automatic user creation
Section titled “Understanding automatic user creation”When users authenticate through SSO, the following scenarios can occur:
-
User exists in Aembit already: SSO works and the user logs in. Aembit doesn’t create a new user.
-
User exists in IdP but not Aembit (auto-creation
on): Aembit creates a new user with roles based on the configured mappings. -
User exists in IdP but not Aembit (auto-creation
off): Login fails. The user can’t access Aembit. -
User’s IdP groups don’t match any mappings: User creation fails. The user can’t log in. You must configure mappings for the user’s groups.
-
User has multiple matching groups: User gets all corresponding Aembit roles. For example, if a user is in both “AembitAdmins” and “AembitViewers” groups, they receive both Administrator and Viewer roles.