Configure a JSON Web Token (JWT) Credential Provider
A JSON Web Token (JWT), defined by the open standard RFC 7519, is a compact and self-contained method for securely transmitting information as a JSON object between parties.
Aembit’s JWT Credential Provider: Credential Providers obtain the specific access credentials—such as API keys, OAuth tokens, or temporary cloud credentials—that Client Workloads need to authenticate to Server Workloads.Learn more currently supports Snowflake Key Pair Authentication for connecting to Snowflake Server Workload: Server Workloads represent target services, APIs, databases, or applications that receive and respond to access requests from Client Workloads.Learn more.
Prerequisites
Section titled “Prerequisites”Before configuring a JWT Credential Provider in Aembit, ensure you have the following:
- An active Aembit Tenant: Aembit Tenants serve as isolated, dedicated environments within Aembit that provide complete separation of administrative domains and security configurations.Learn more with appropriate permissions to create and manage Credential Providers.
- A Snowflake account with permissions to configure key pair authentication.
Credential Provider configuration
Section titled “Credential Provider configuration”To configure a JSON Web Token (JWT) Credential Provider, follow these steps:
-
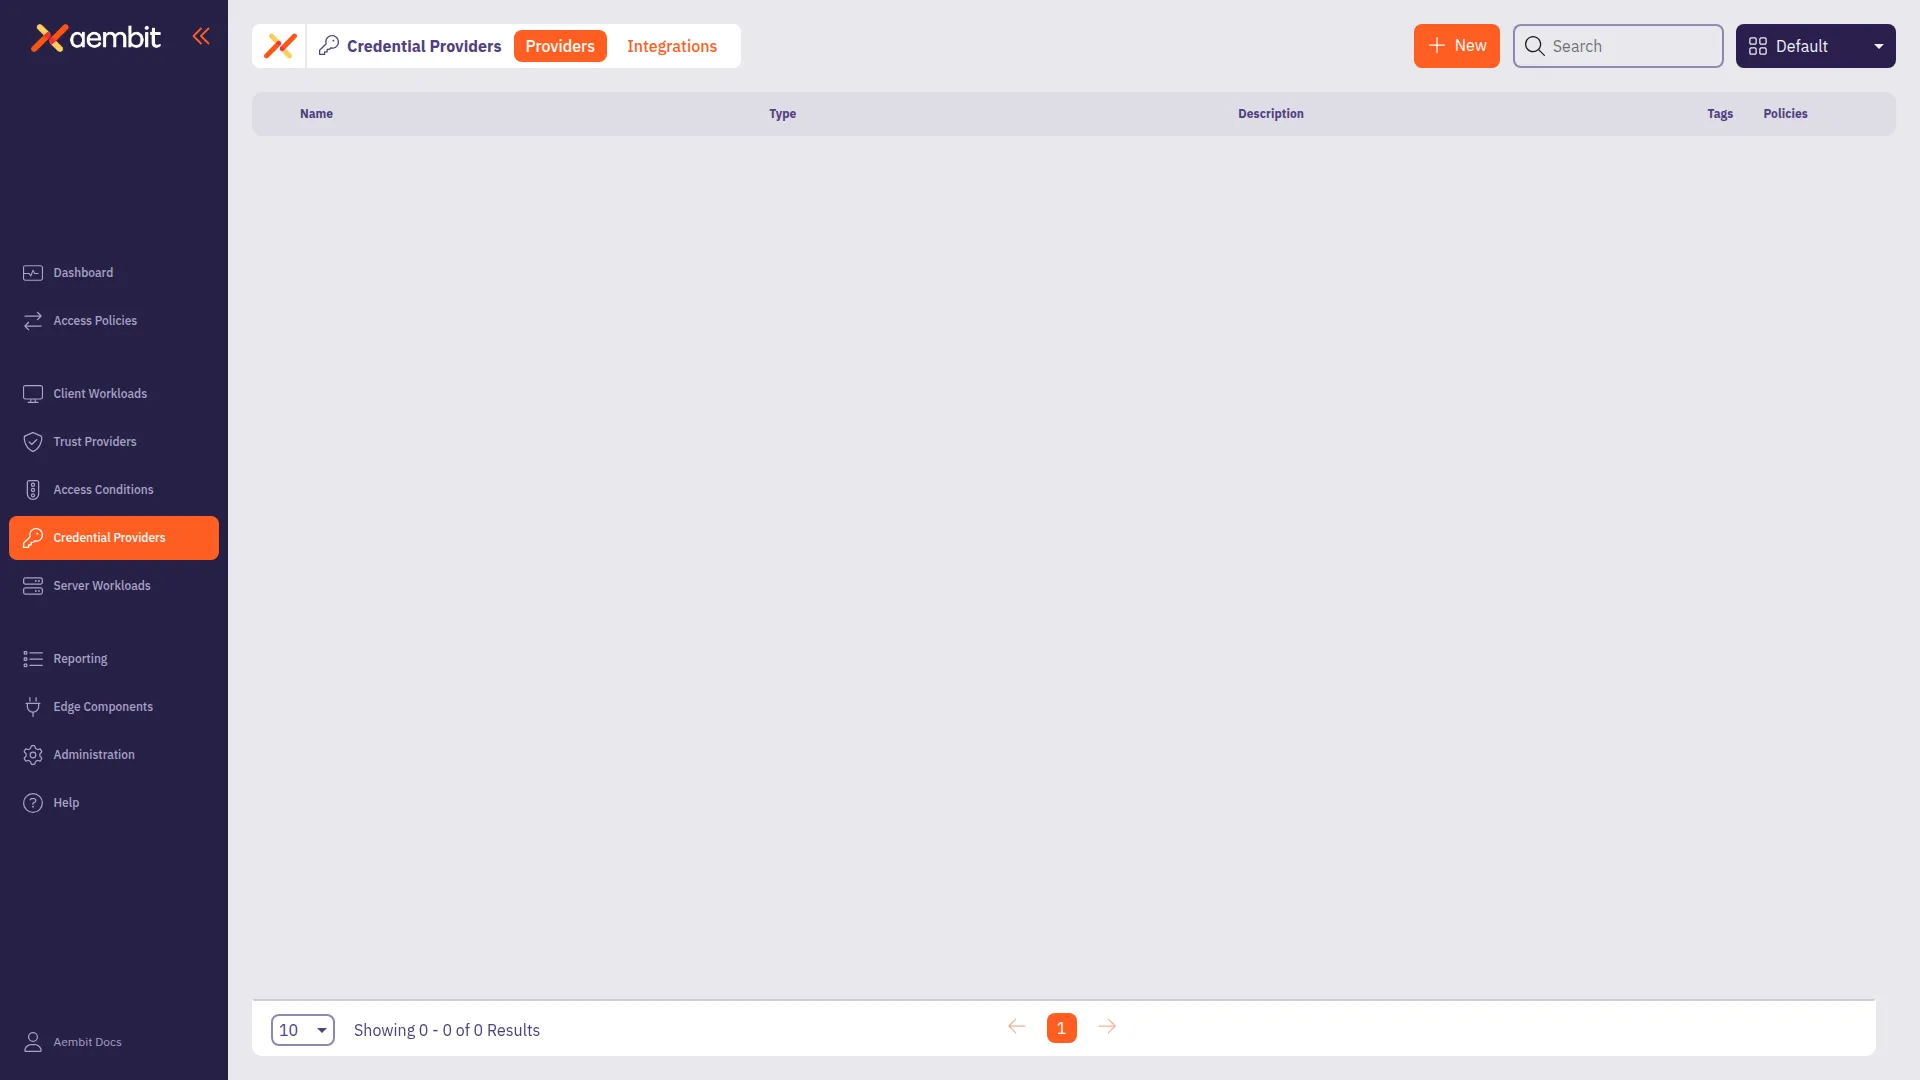
Log into your Aembit Tenant and go to Credential Providers.
Aembit directs you to the Credential Providers page displaying a list of existing Credential Providers.
-
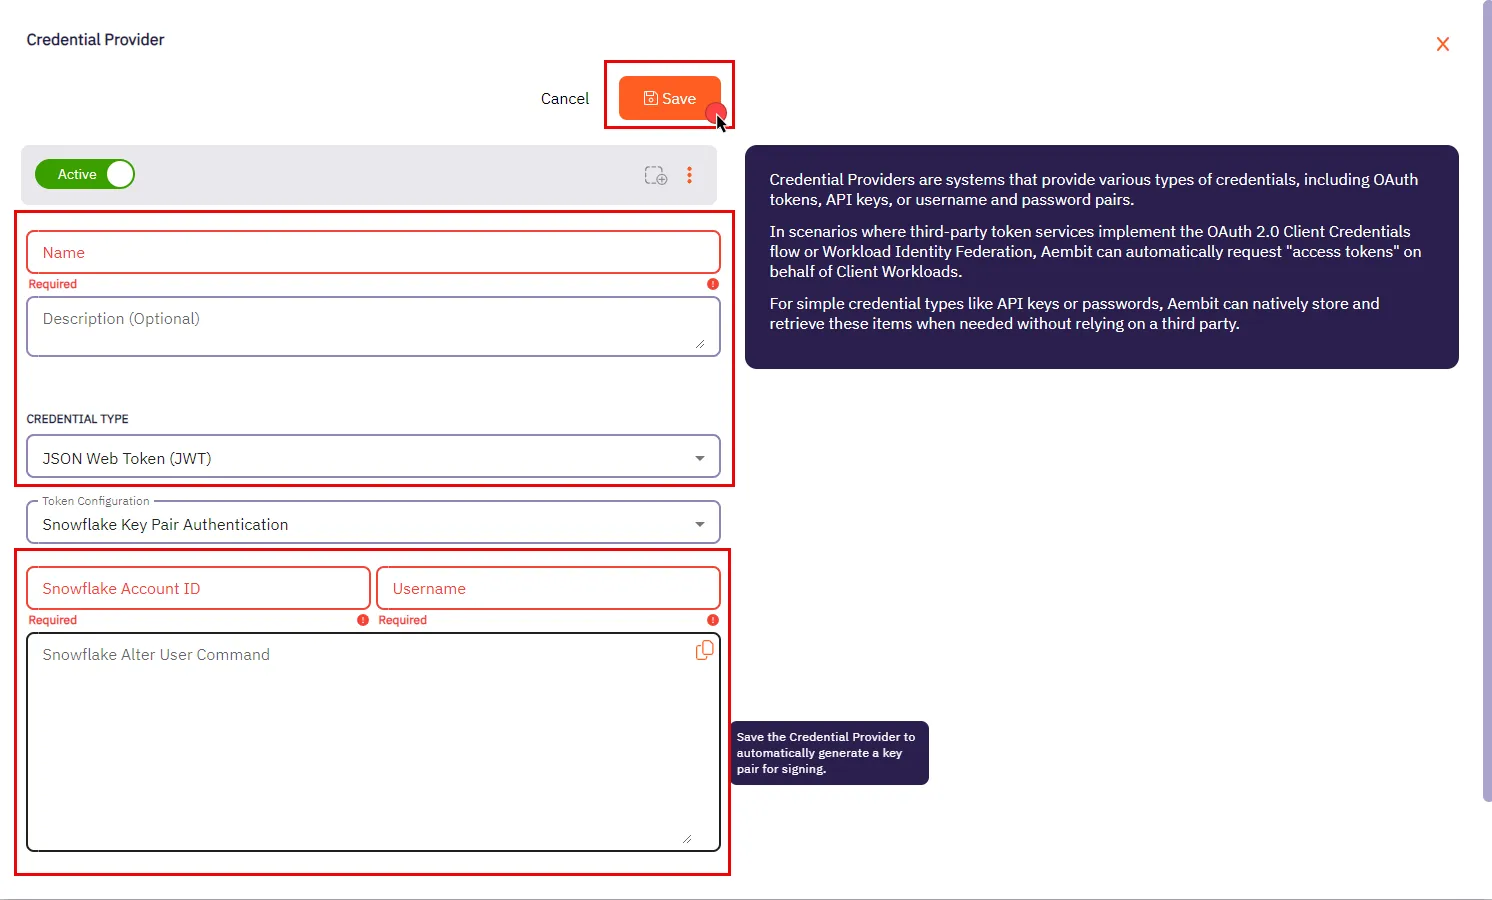
Click + New to open the Credential Providers dialog window.
-
In the Credential Providers dialog window, enter the following information:
-
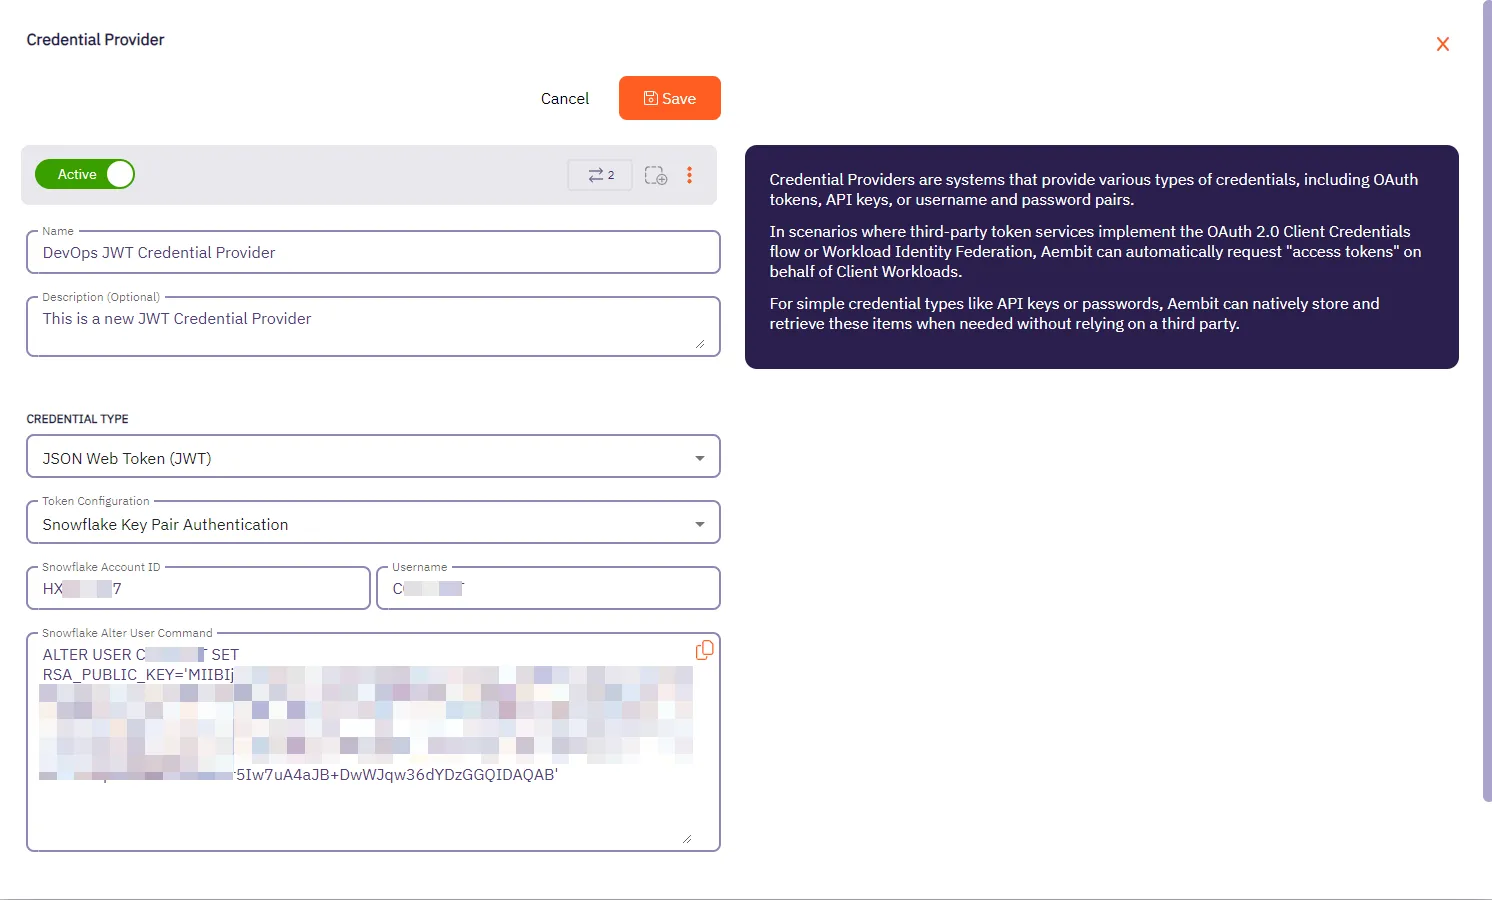
Name - Name of the Credential Provider.
-
Description - An optional text description of the Credential Provider.
-
Credential Type - Select JSON Web Token (JWT) from the dropdown menu.
-
Token Configuration - By default, this field is pre-selected as Snowflake Key Pair Authentication for connecting to Snowflake.
-
Snowflake Account ID - The Snowflake Locator, a unique identifier that distinguishes a Snowflake account within the organization.
-
Username - Your unique Snowflake username associated with the account.
-
Snowflake Alter User Command - After saving the Credential Provider, Aembit generates a SQL command in this field. This command incorporates a public key essential for establishing trust between your Snowflake account and the JWT tokens issued by Aembit. Execute this command on your Snowflake account using a Snowflake-compatible tool.
-
-
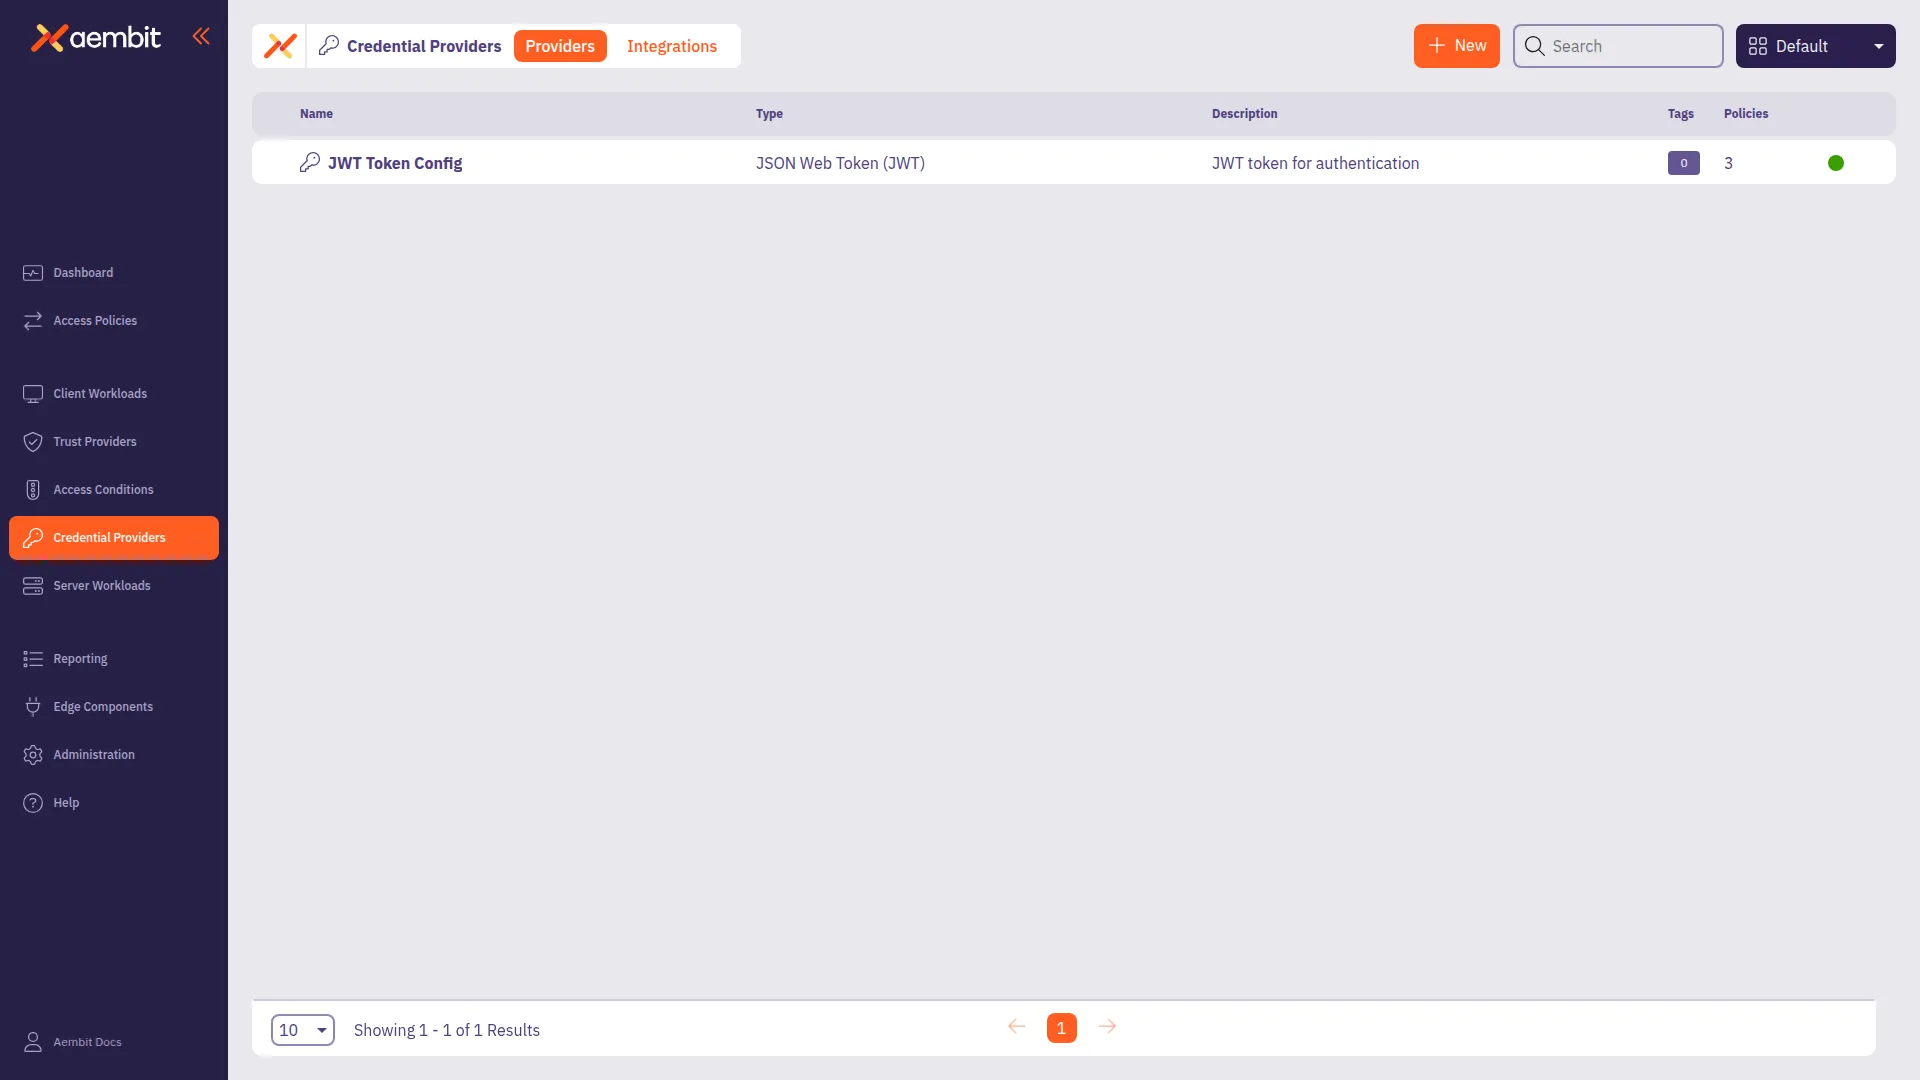
Click Save when finished. Aembit directs you back to the Credential Providers page, where you see your newly created Credential Provider.
Configure multiple JWT Credential Providers
Section titled “Configure multiple JWT Credential Providers”To configure multiple JWT Credential Providers within a single Access Policy, follow these steps. Each Credential Provider must have a unique mapping value (username for Snowflake, or HTTP header/body value for HTTP workloads).
Prerequisites
Section titled “Prerequisites”Before configuring multiple JWT Credential Providers, ensure you have:
- An existing Access Policy with a Client Workload: Client Workloads represent software applications, scripts, or automated processes that initiate access requests to Server Workloads, operating autonomously without direct user interaction.Learn more and Server Workload configured
- Server Workload Application Protocol set to Snowflake or HTTP
- At least two JWT Credential Providers created (or ready to create)
Add multiple JWT Credential Providers to an Access Policy
Section titled “Add multiple JWT Credential Providers to an Access Policy”-
Create your first JWT Credential Provider by following the Credential Provider configuration procedure.
-
Note the mapping value for this Credential Provider (Snowflake username or the HTTP header/body value you plan to use).
-
Repeat the Credential Provider configuration steps to create additional JWT Credential Providers, each with a unique mapping value.
-
Go to Access Policies and either create a new Access Policy or edit an existing one.
-
In the Credential Providers column, hover over the + icon and select Existing to add your first JWT Credential Provider.
-
Repeat to add additional JWT Credential Providers to the Access Policy.
-
After adding Credential Providers, you see a box in the Credential Providers column showing the total number of Credential Providers and an “unmapped” indicator.
Map JWT Credential Providers
Section titled “Map JWT Credential Providers”After adding multiple JWT Credential Providers to an Access Policy, map each Credential Provider to its selector value.
-
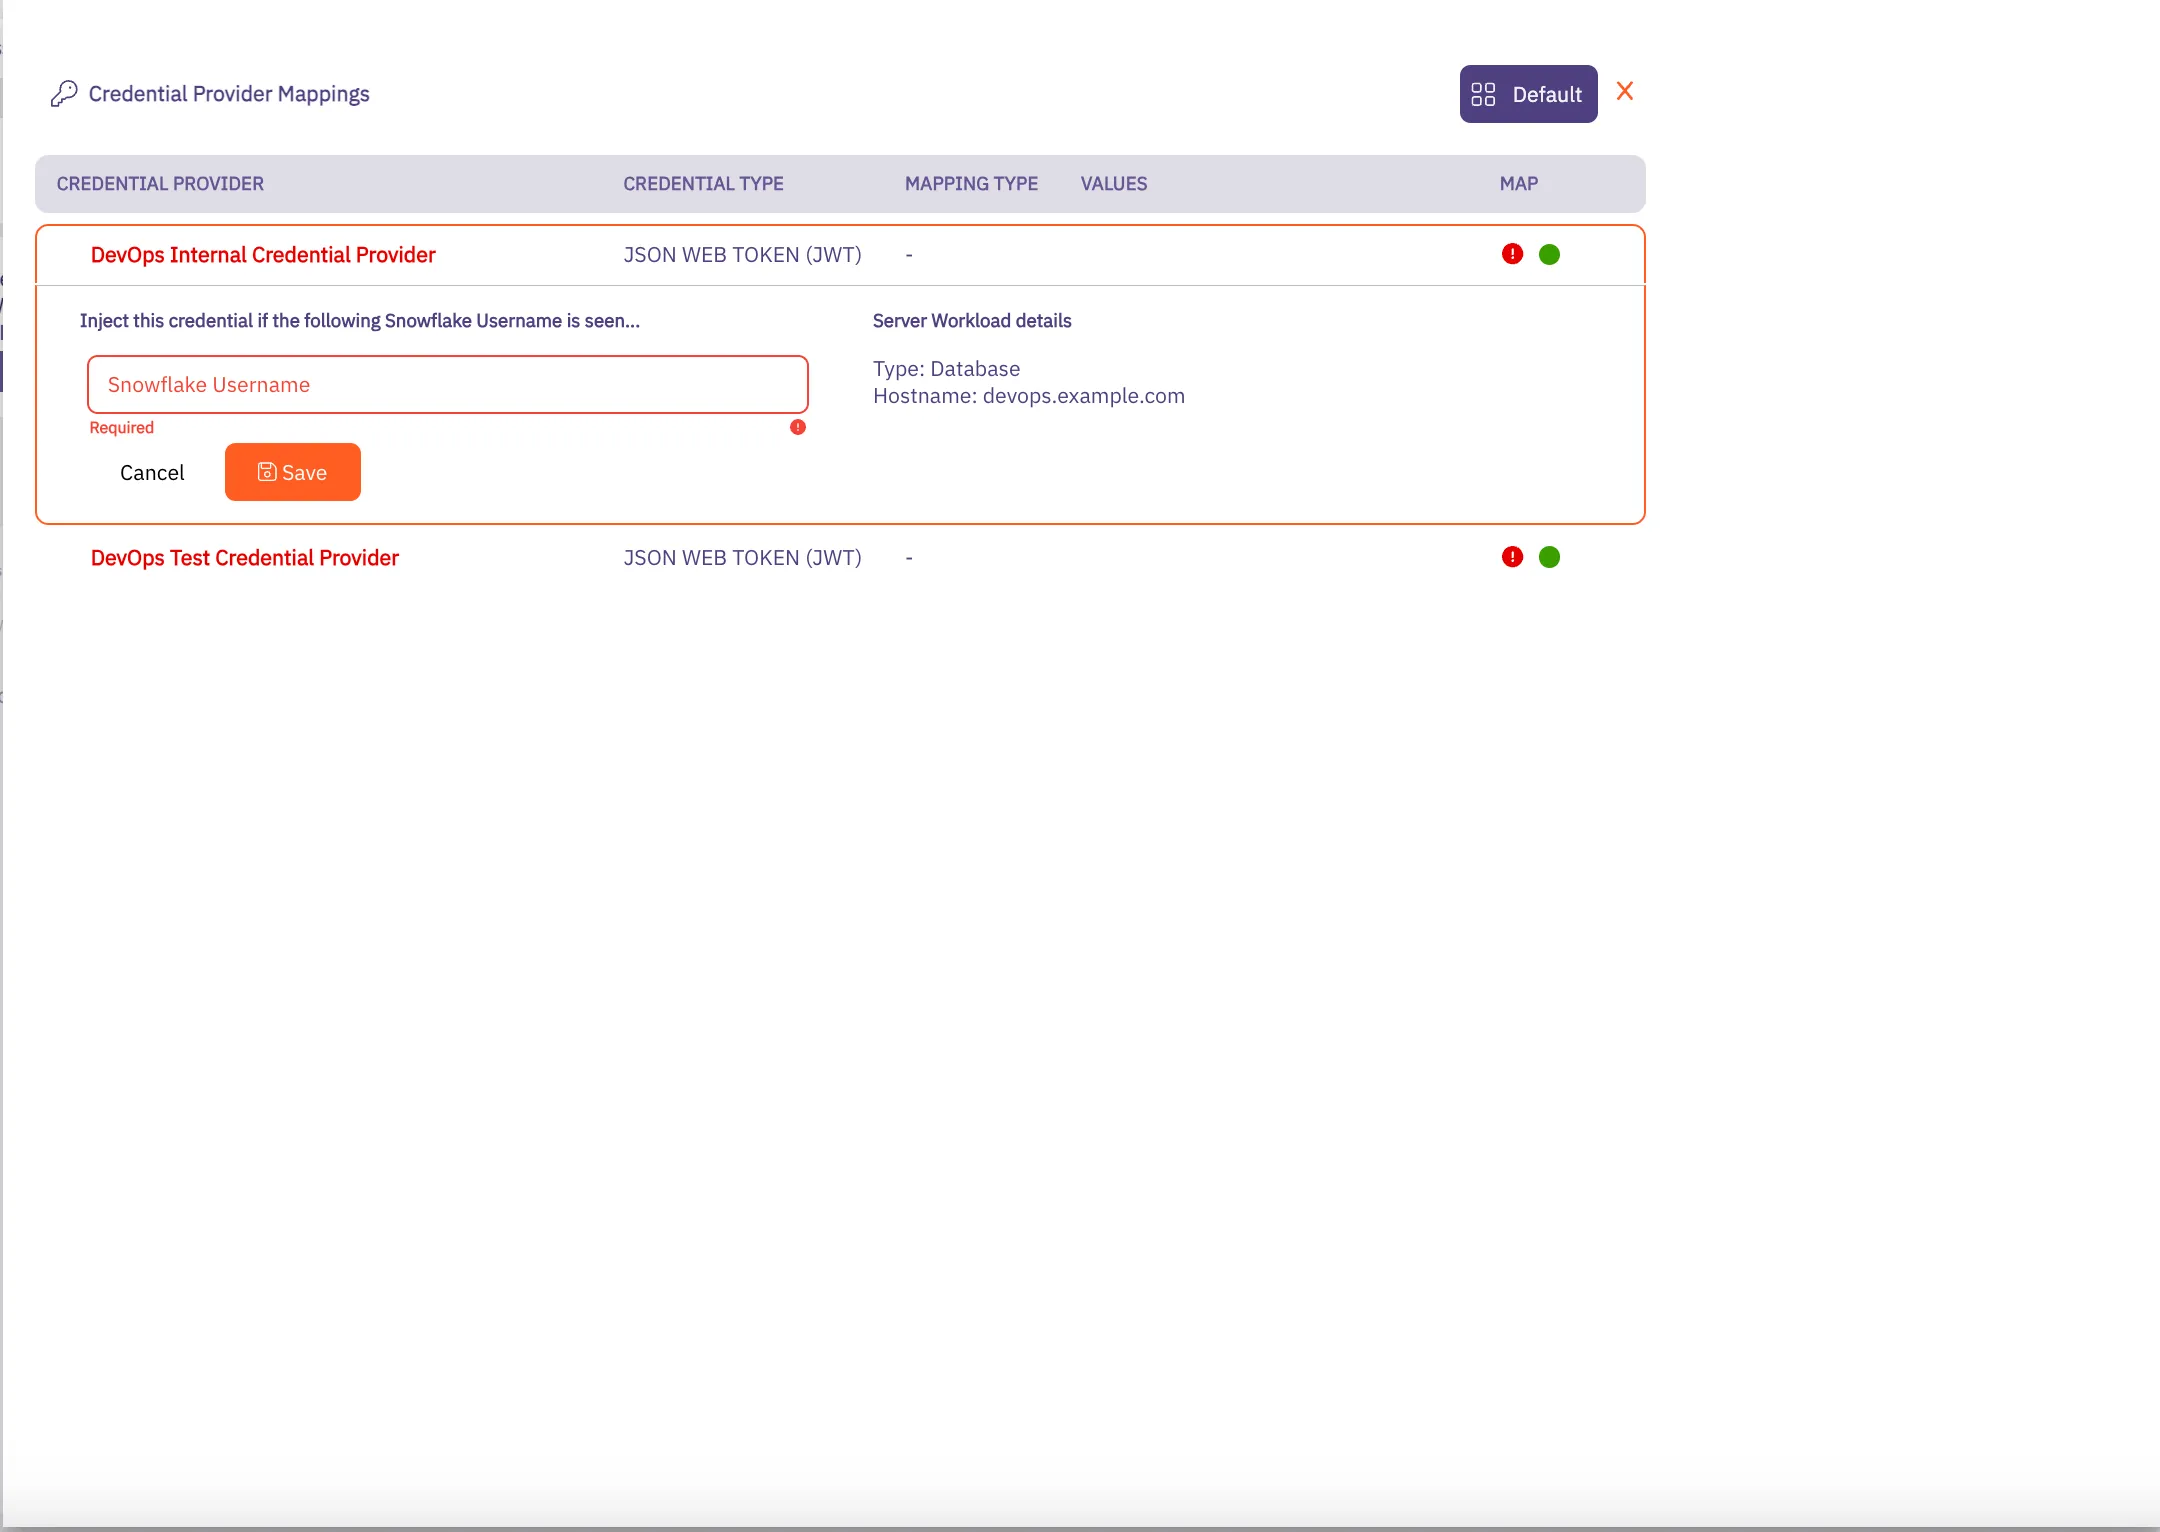
On the Access Policy page, in the Credential Providers column, click the arrow to open the Credential Provider Mappings dialog window.
-
For each Credential Provider with a red ”!” icon (indicating no mapping), hover over the Credential Provider and click the down arrow to open the mapping menu.
-
Add the Snowflake usernames that should use this Credential Provider. When a connection request arrives with this username, Aembit uses this Credential Provider for credential injection.
-
Click Save when you finish adding mapping values. The red ”!” icon changes to a green checkbox.
-
Repeat for each Credential Provider in the Access Policy.
-
When all Credential Providers show “All Mapped”, click Save or Save & Activate to save your Access Policy.
-
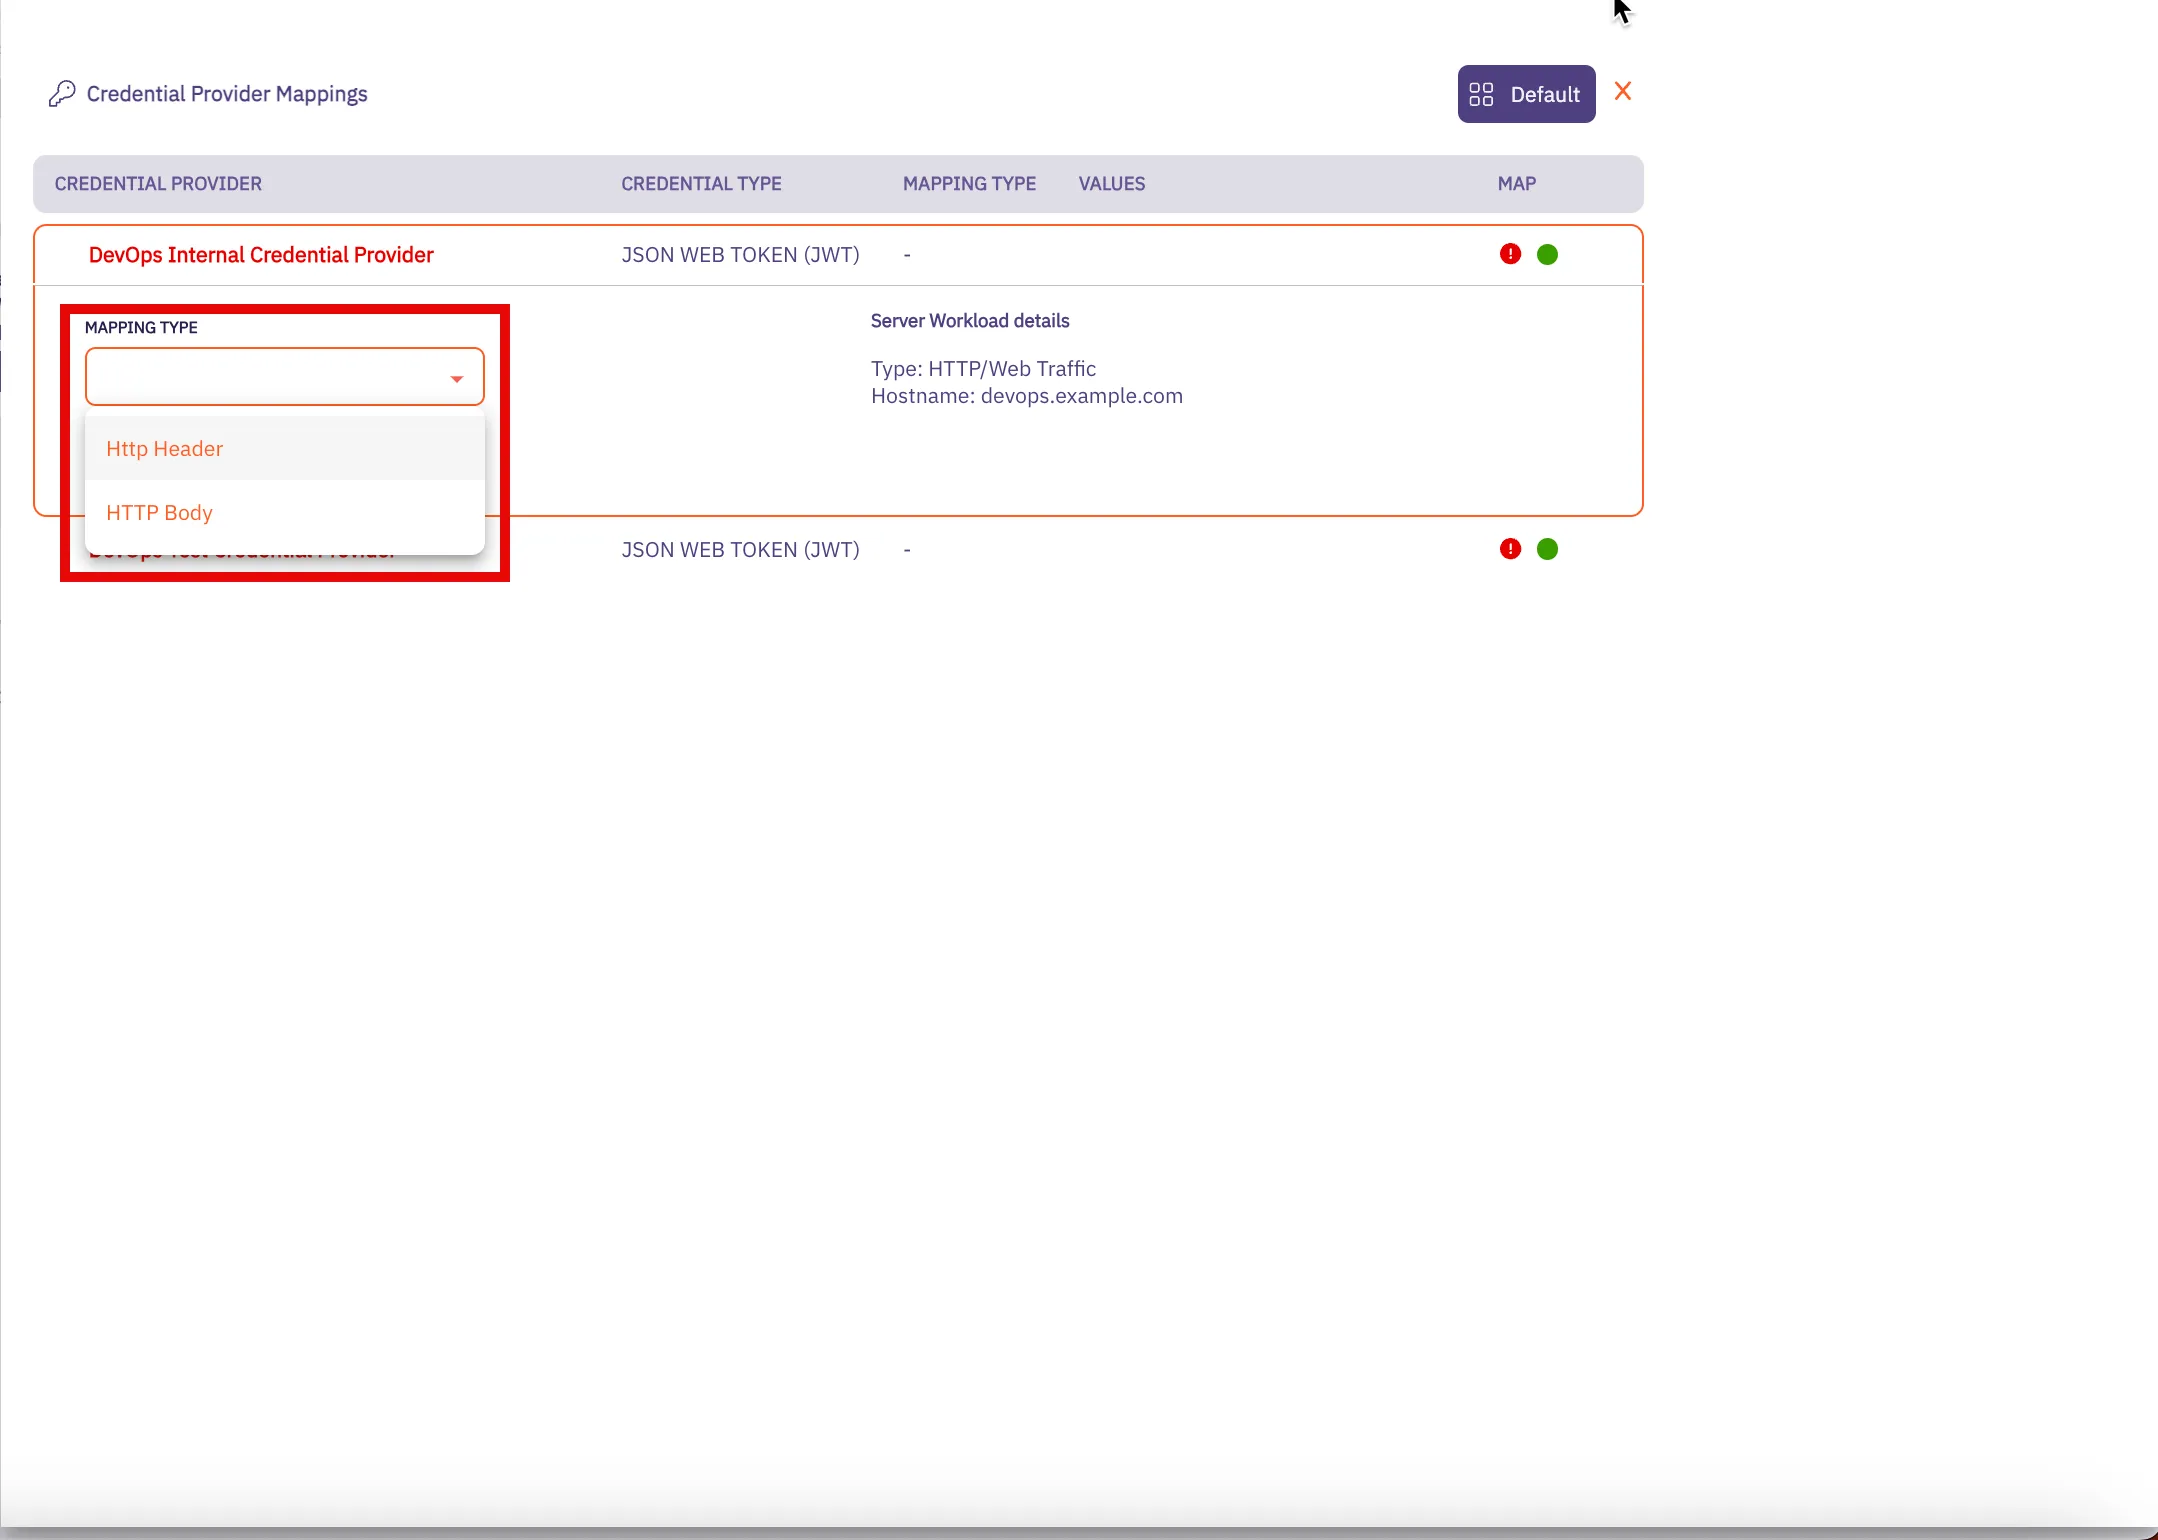
On the Access Policy page, in the Credential Providers column, click the arrow to open the Credential Provider Mappings dialog window.
-
For each Credential Provider with a red ”!” icon (indicating no mapping), hover over the Credential Provider and click the down arrow to open the mapping menu.

-
Select the mapping type (HTTP Header or HTTP Body) and add the values that should use this Credential Provider. When a request arrives with these values, Aembit uses this Credential Provider for credential injection.
-
Click Save when you finish adding mapping values. The red ”!” icon changes to a green checkbox.
-
Repeat for each Credential Provider in the Access Policy.
-
When all Credential Providers show “All Mapped”, click Save or Save & Activate to save your Access Policy.
Verify your configuration
Section titled “Verify your configuration”To confirm your multiple JWT Credential Provider configuration works correctly:
-
Make a request using one of your mapped values (Snowflake username or HTTP header/body value).
-
Check the access authorization events in your Aembit Tenant to confirm:
- Aembit selected the correct Credential Provider
- The
credentialProvider.namefield matches your expected Credential Provider
-
Make a request using a different mapped value and repeat to verify the second Credential Provider.
Related topics
Section titled “Related topics”- Using multiple JWT Credential Providers - Learn how Aembit routes requests to multiple JWT Credential Providers
- Configure multiple Credential Providers - Overview of multiple Credential Provider support
- Snowflake Server Workload - Configure Aembit to work with Snowflake
- Credential Providers overview - Overview of all available Credential Provider types
- Access Policies - Learn about Aembit Access Policies and how they work
- Access Authorization Events - Review access authorization event information in the Reporting Dashboard