How to add a new role
To add a role to your Aembit Tenant, perform the following steps:
-
Log into your Aembit Tenant.
-
Click Administration in the left sidebar.
-
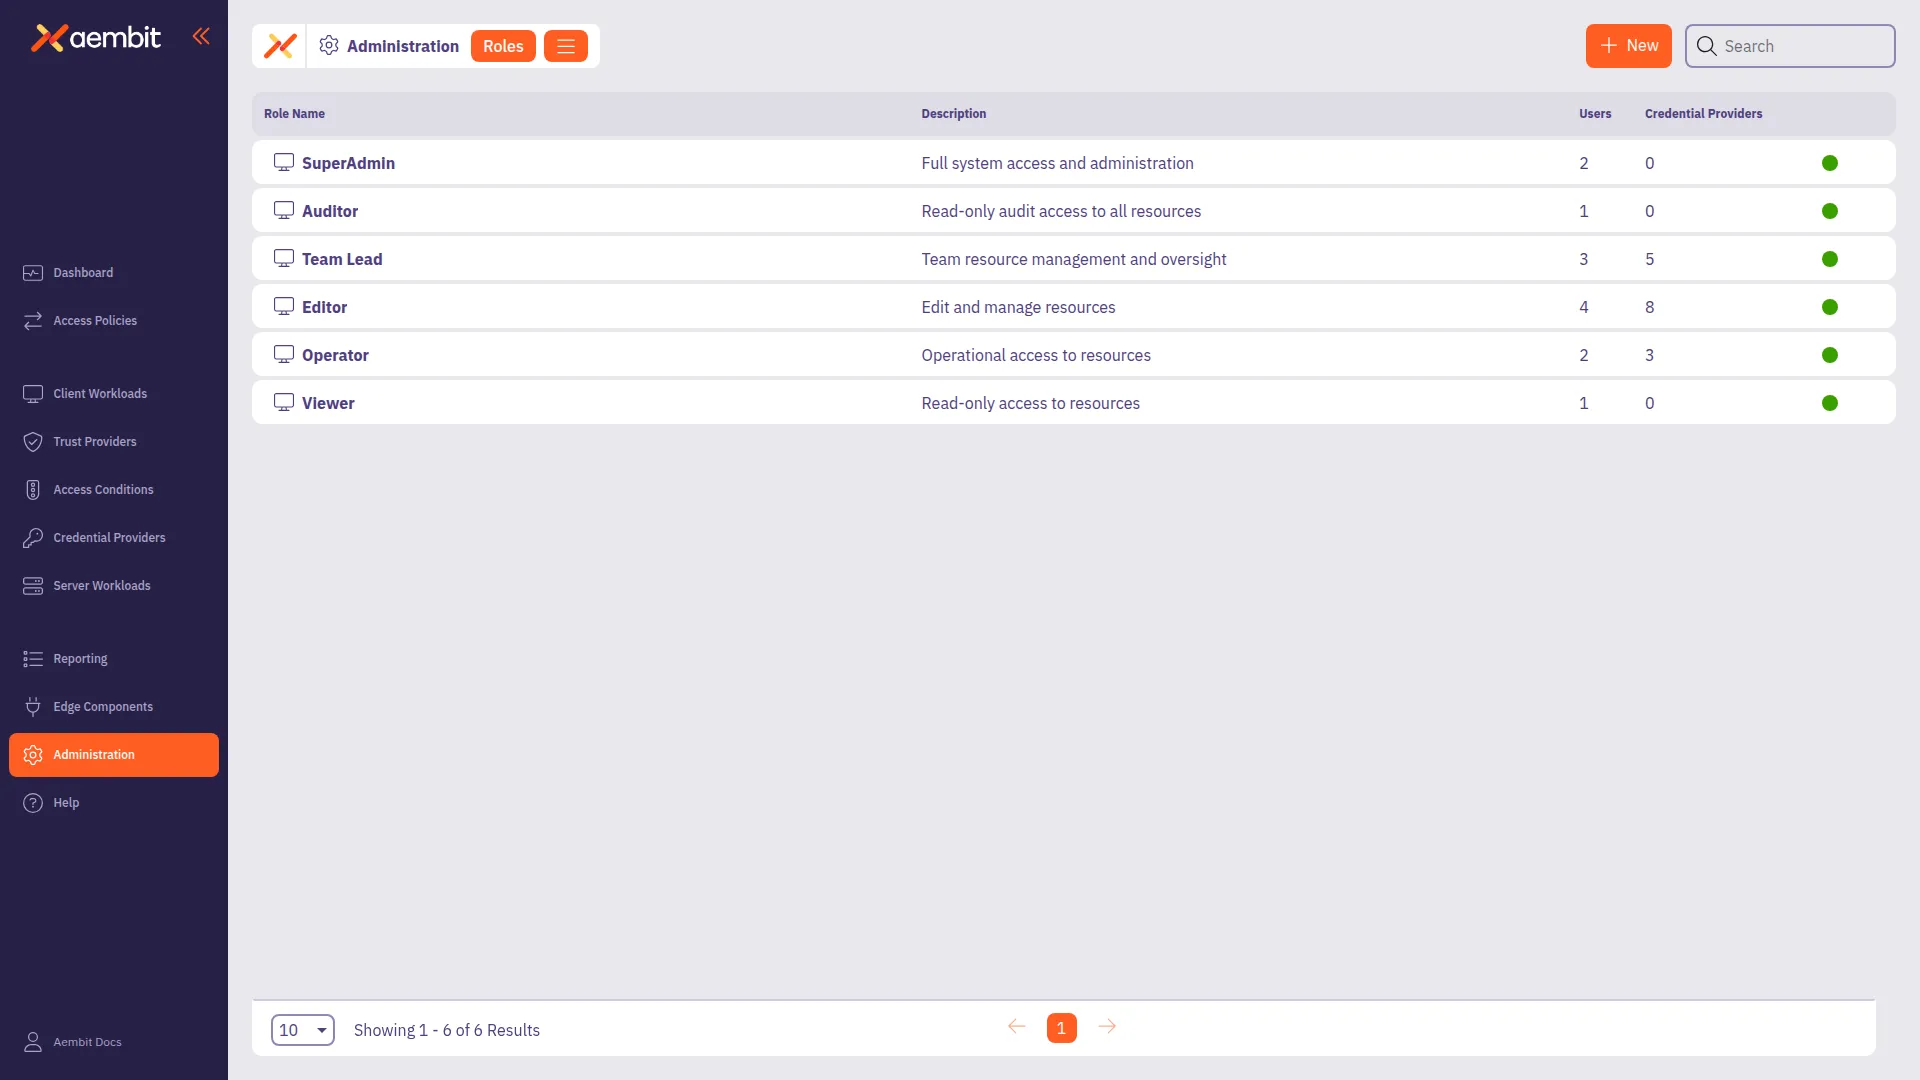
At the top, select Administration ☰ Roles.
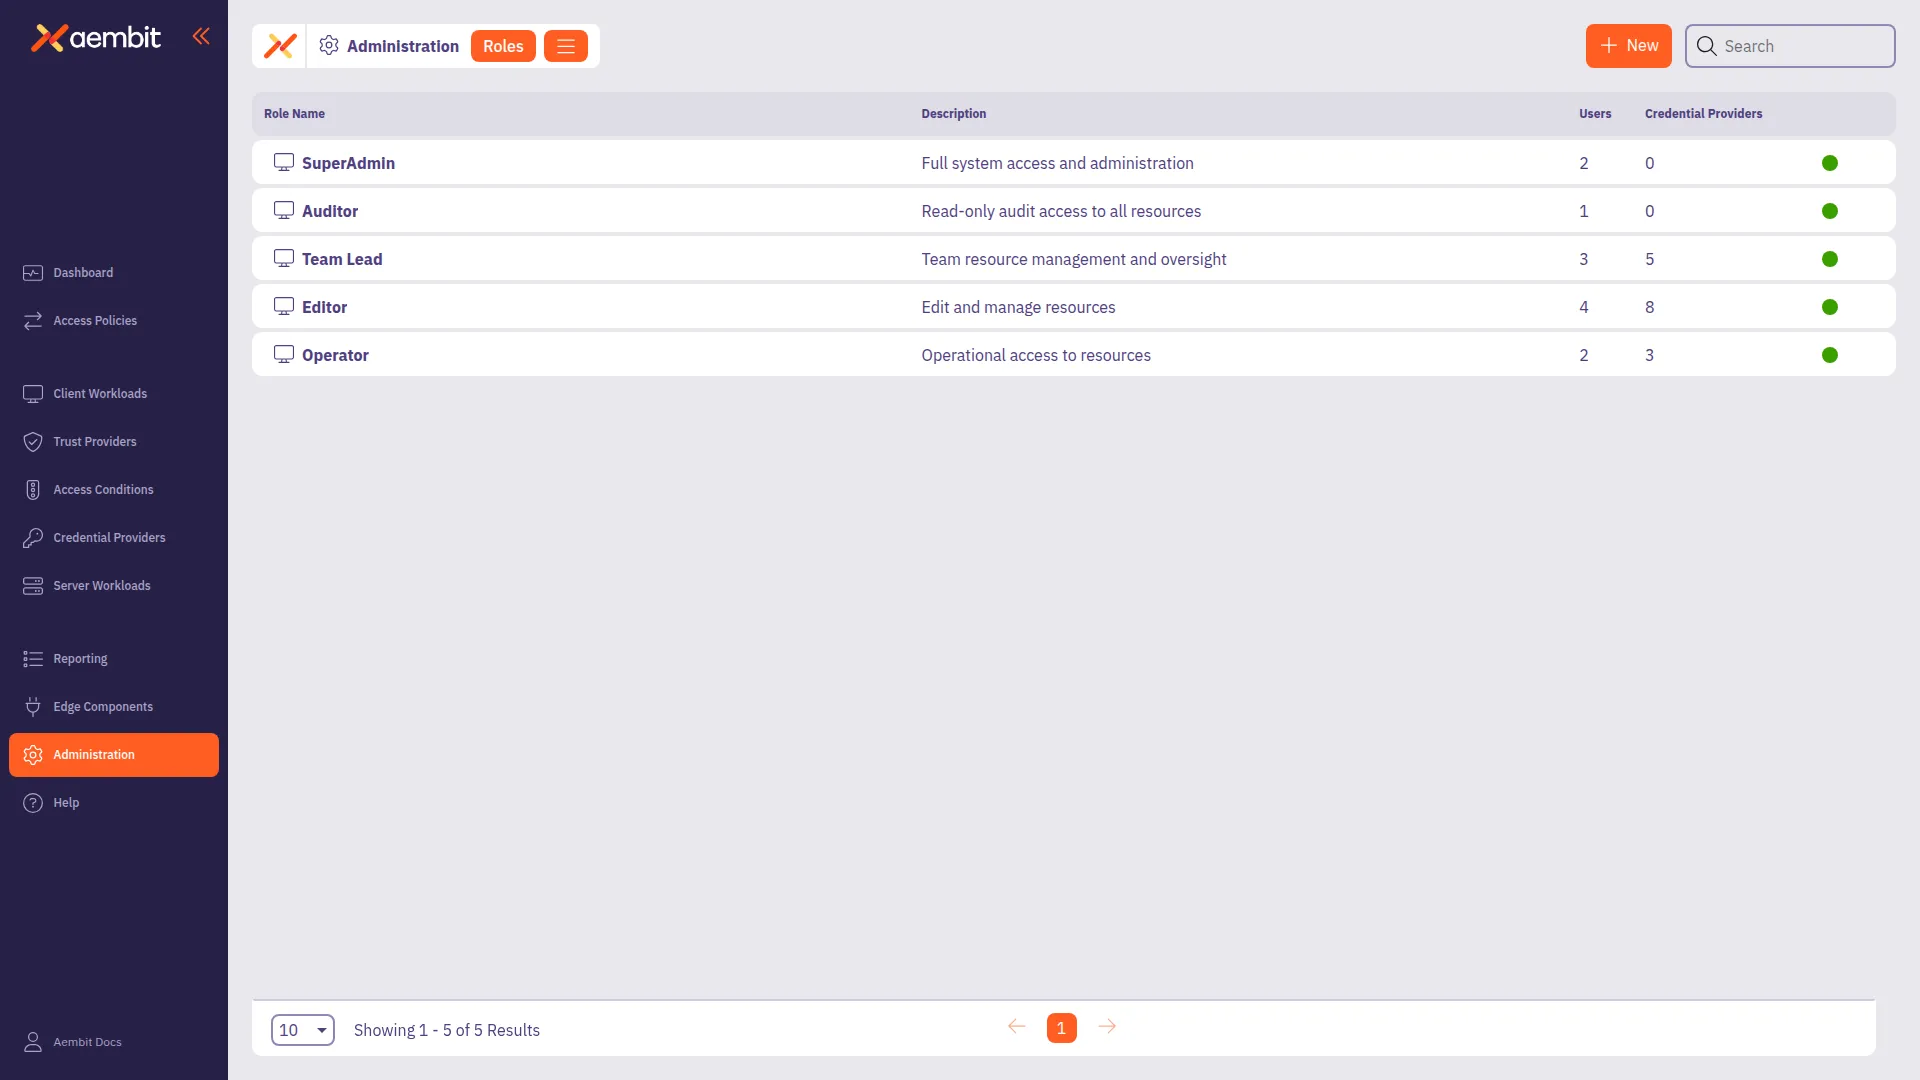
Aembit displays the Roles page with a list of existing roles.
-
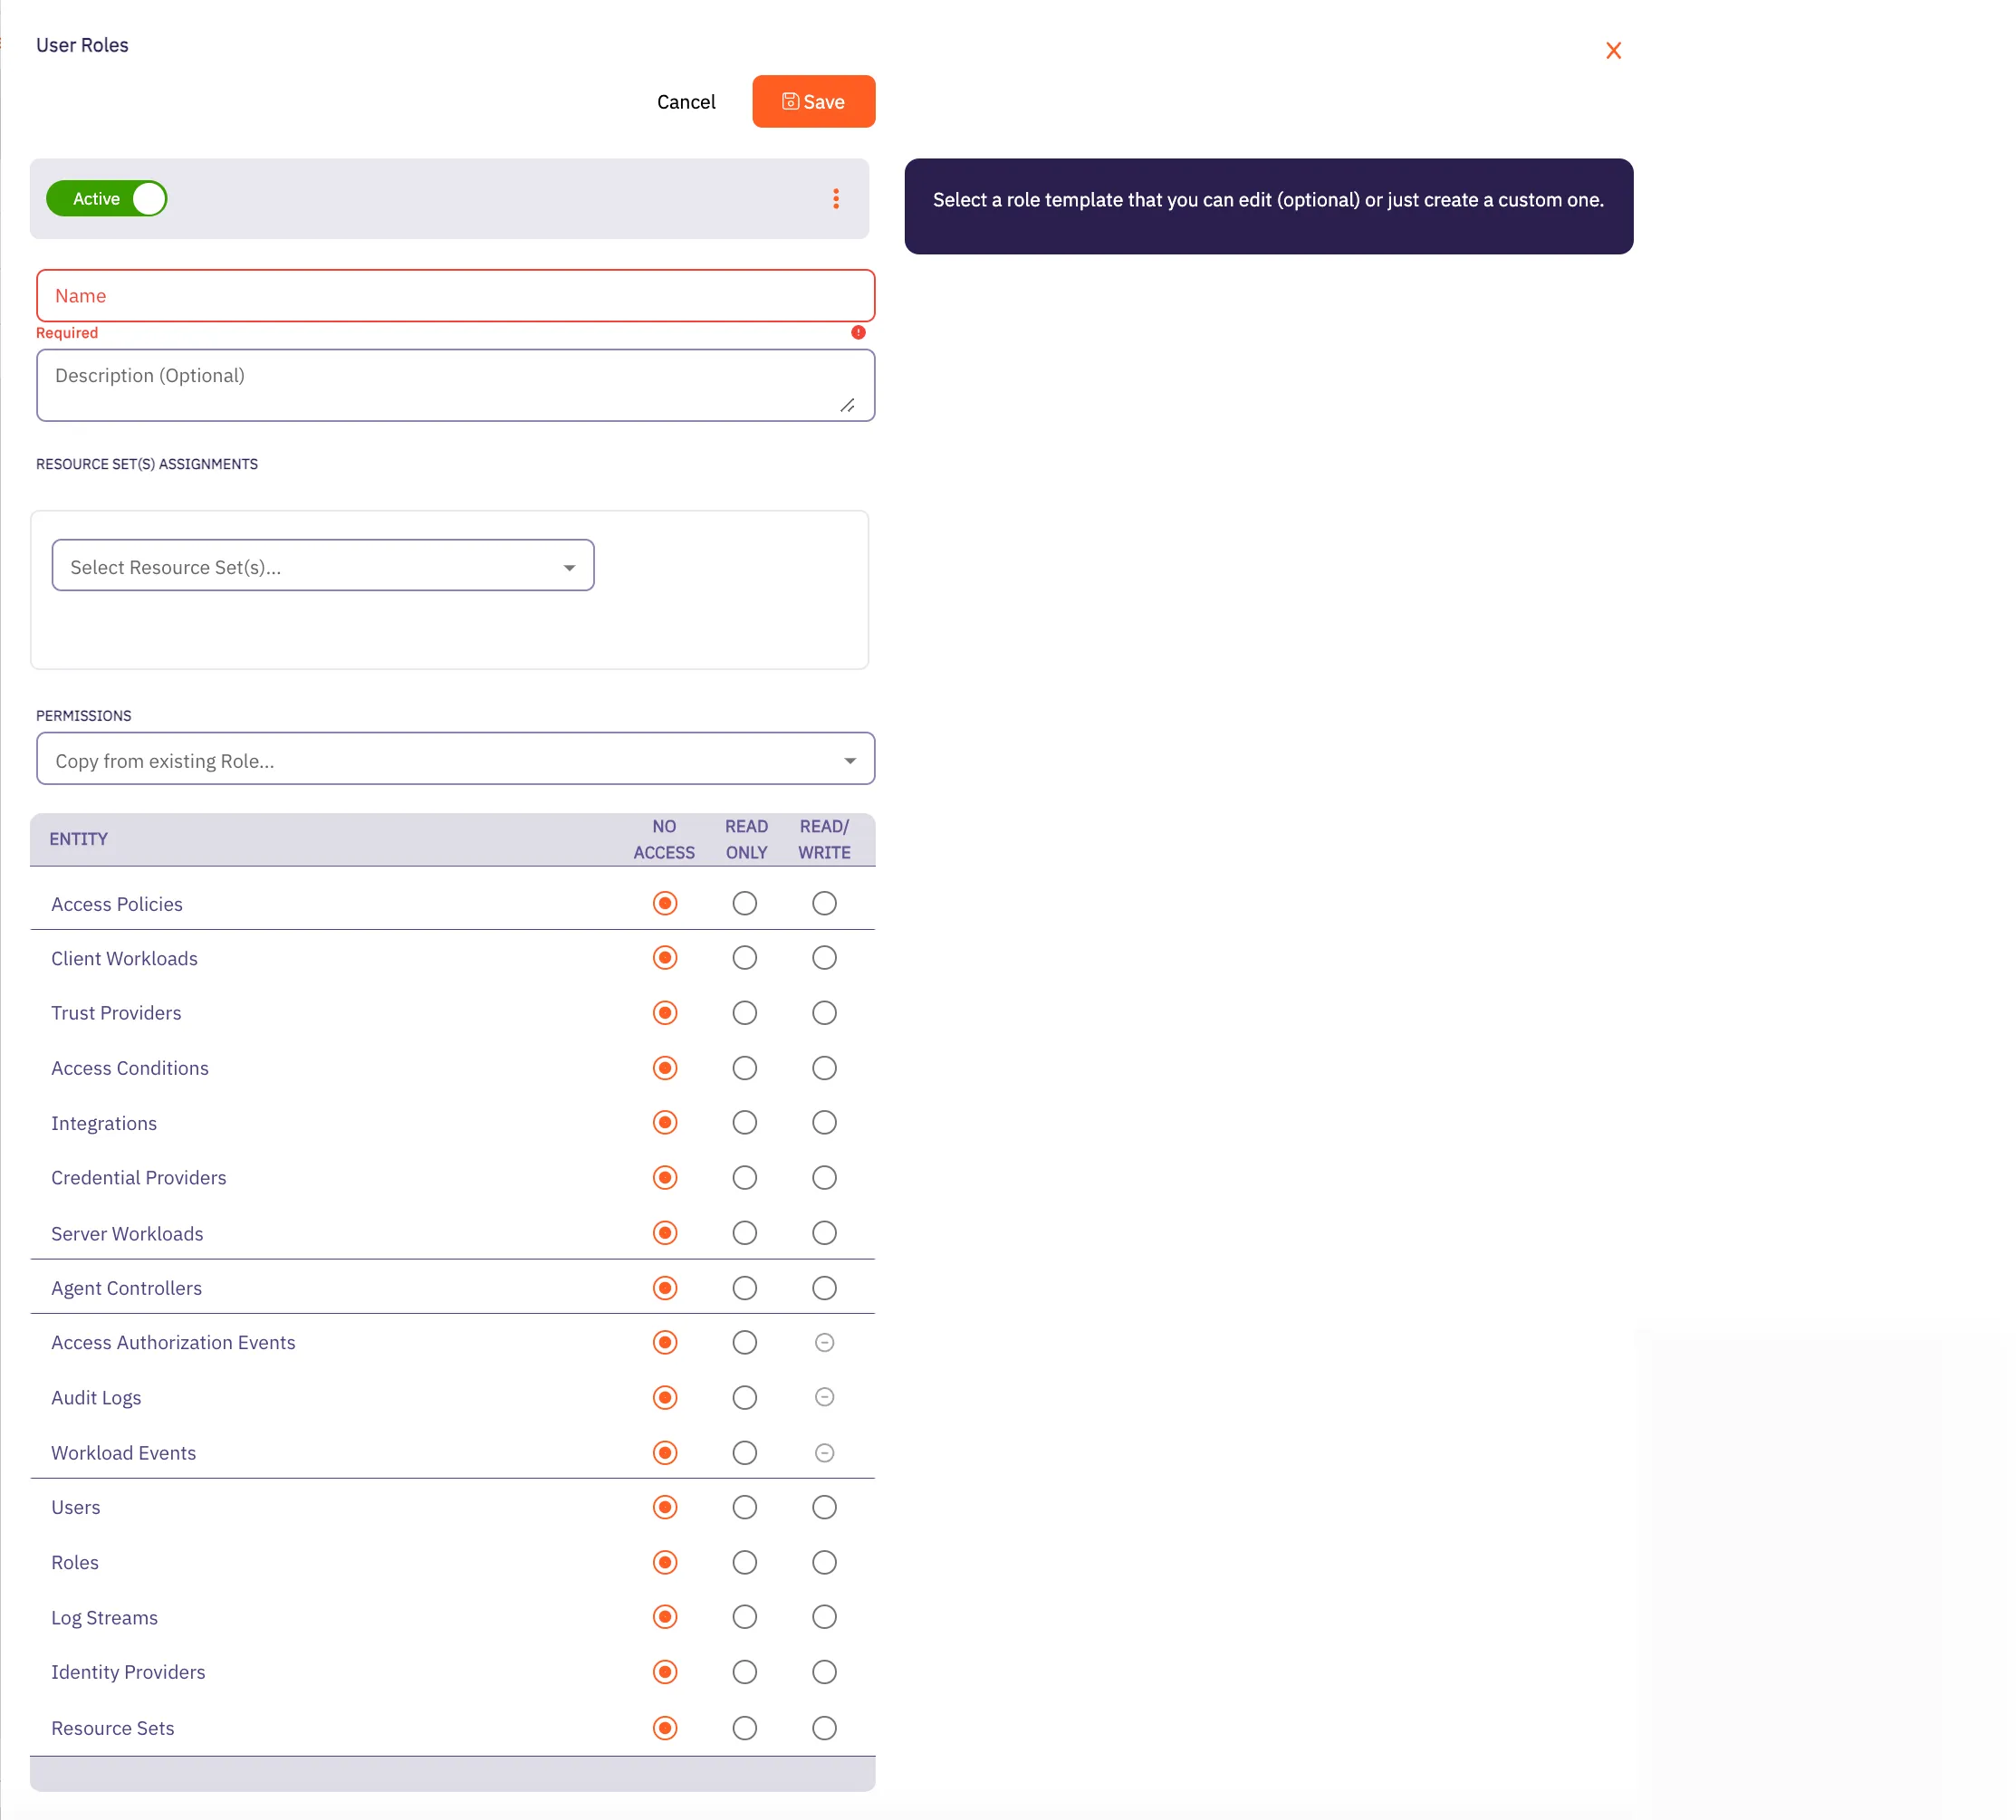
Click + New, revealing the Roles pop out menu.
-
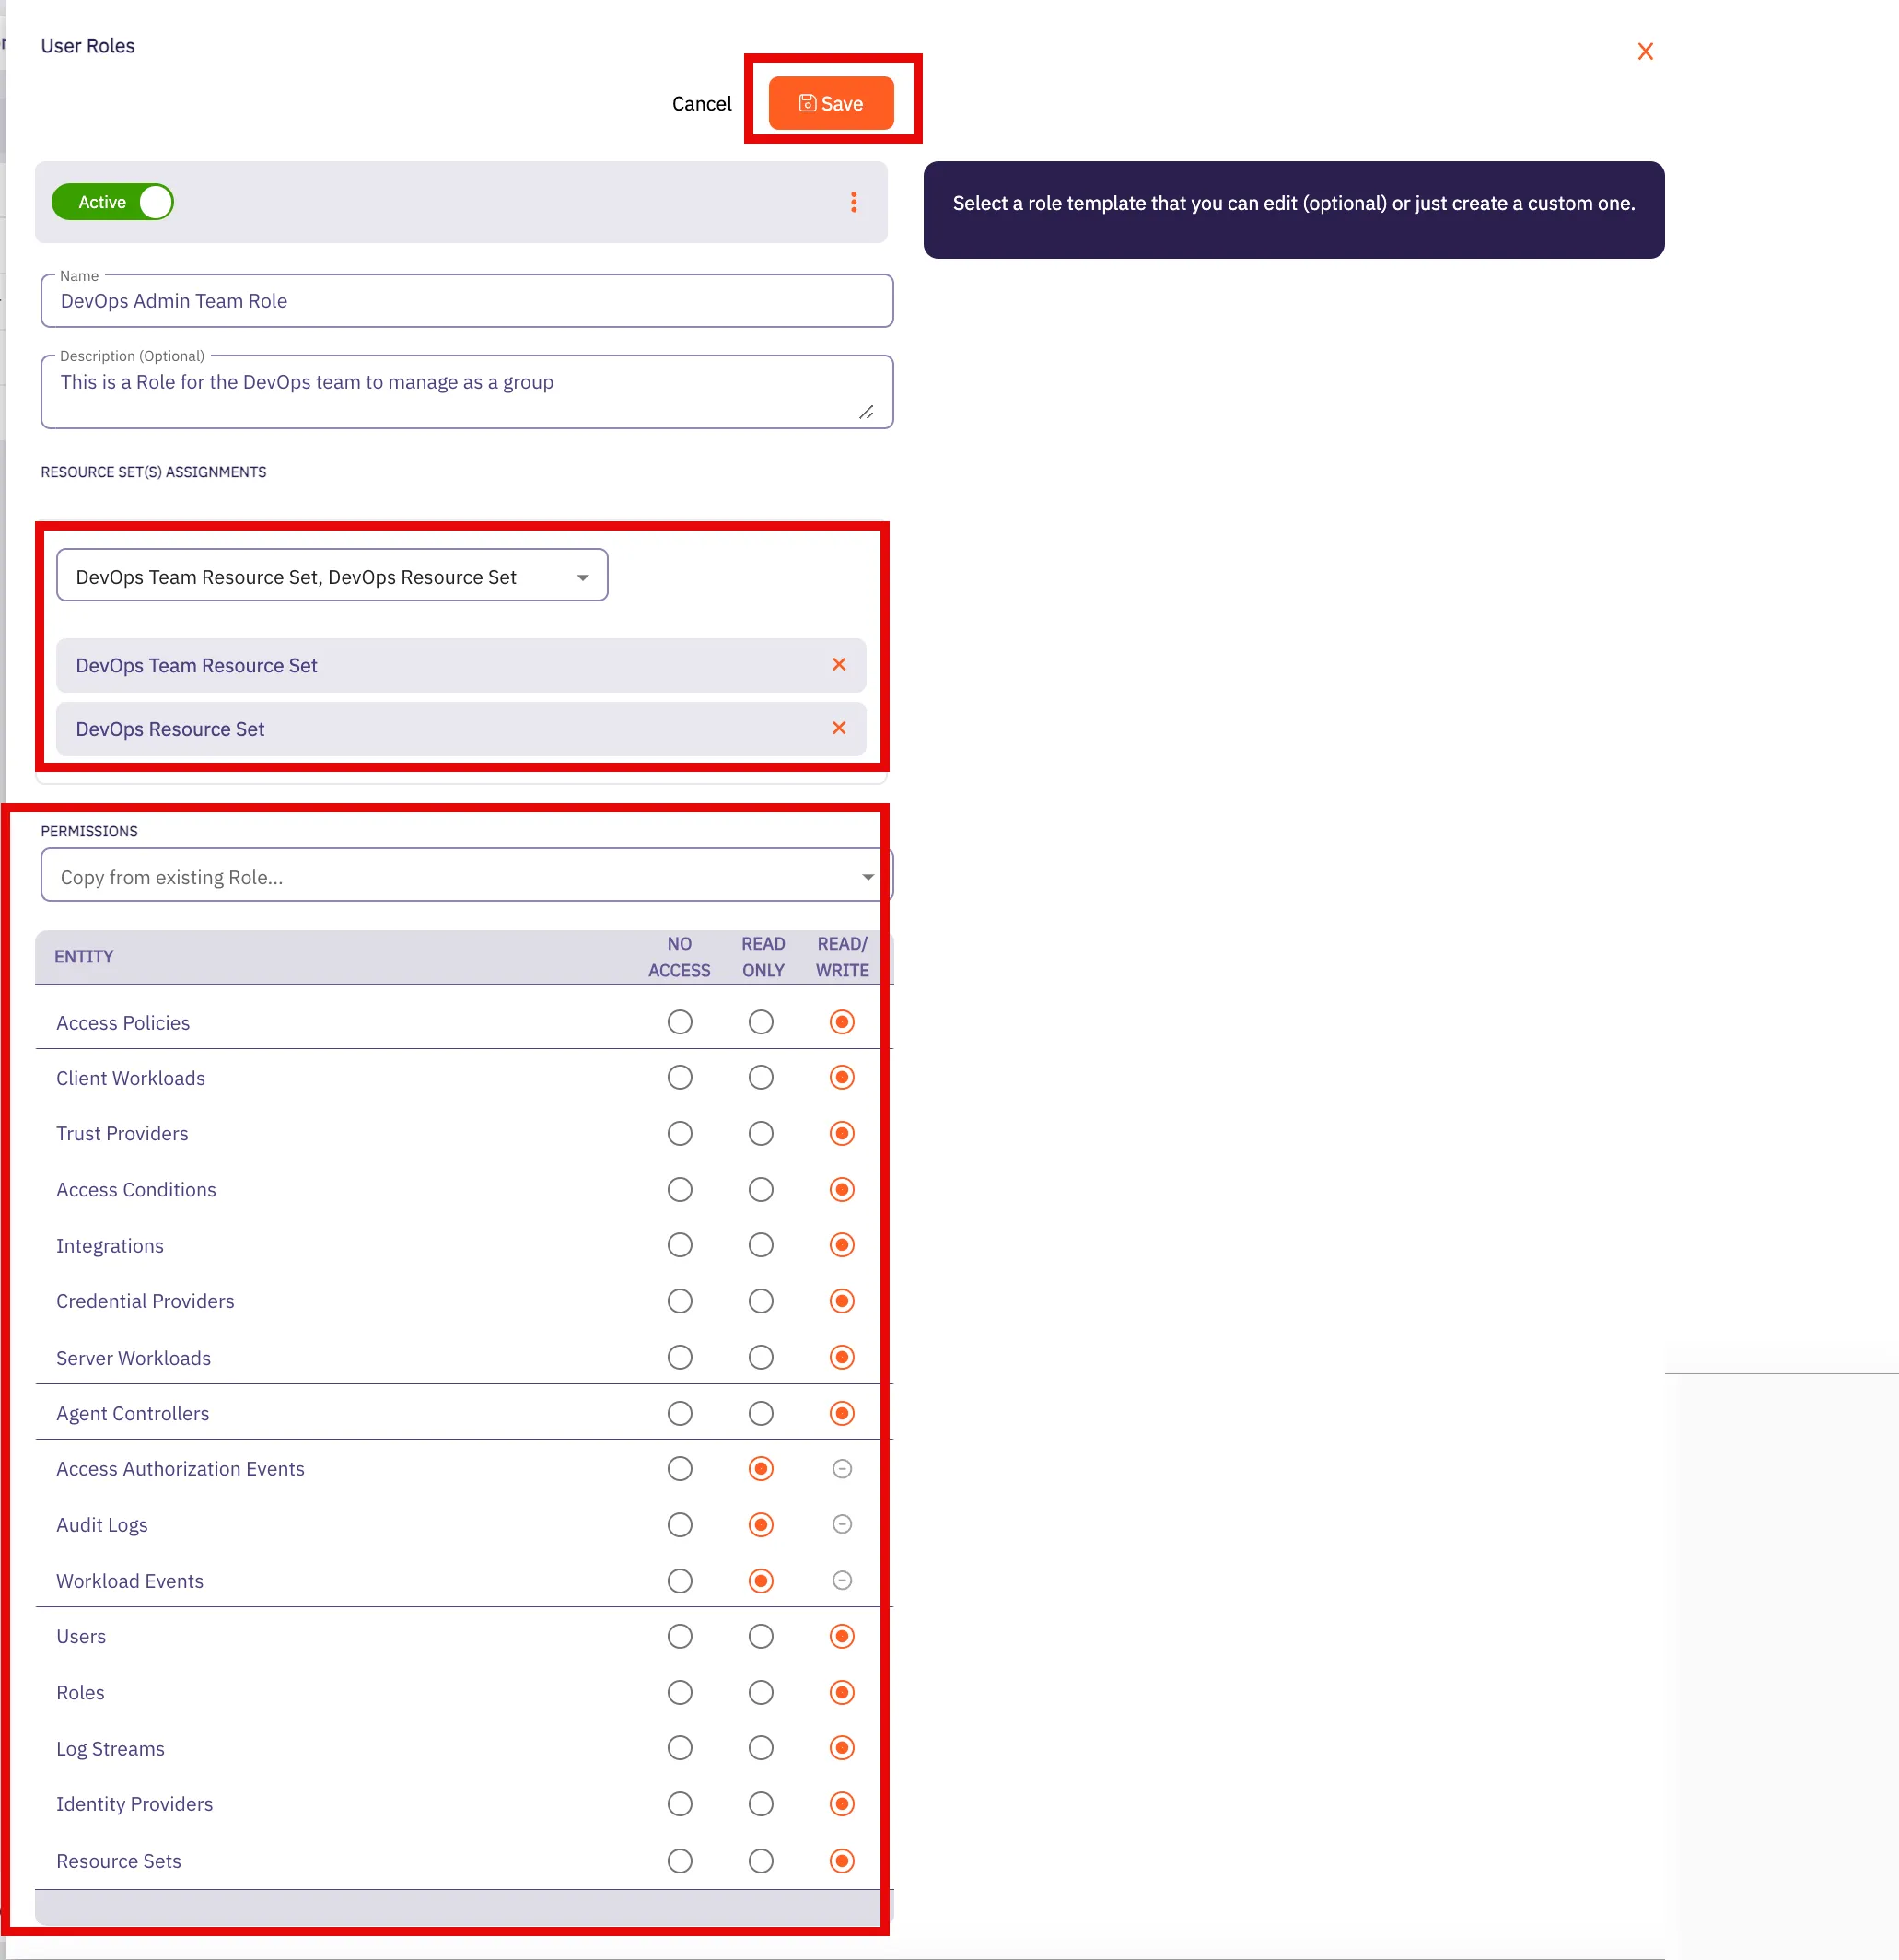
Fill out the following fields:
- Name - The name of the Role.
- Description - An optional text description of the Role.
- Resource Set Assignment(s) - A drop-down menu that enables you to assign existing Resource Sets to the Role.
- Permissions - Select an existing permission set based on the type of Role you would like to create. By selecting from this list, the radio buttons in the Permissions section Aembit auto-fills with the default permissions for that role.
In the following example using the SuperAdmin role, Aembit has auto-filled the default permissions for that role:
-
Click Save.
Aembit displays the role on the Roles page.