Configure OAuth 2.0 Authorization Code Credential Provider
Many organizations require access to third-party SaaS services that have short-lived access tokens. These third-party services generate the tokens on demand for authentication to APIs they provide.
Some critical SaaS services that organizations may use, and need Credential Provider support:
- Atlassian
- GitLab
- Slack
- Google Workspace
- PagerDuty
Configuring an OAuth 2.0 Authorization Code Credential Provider requires a few steps, including:
- Configure the Credential Provider.
- Configure the third-party Application. See the Server Workloads guides.
- Authorize the Credential Provider to complete the integration.
Configure the Credential Provider
Section titled “Configure the Credential Provider”Configure an OAuth 2.0 Authorization Code Credential Provider:
-
Log into your Aembit Tenant.
-
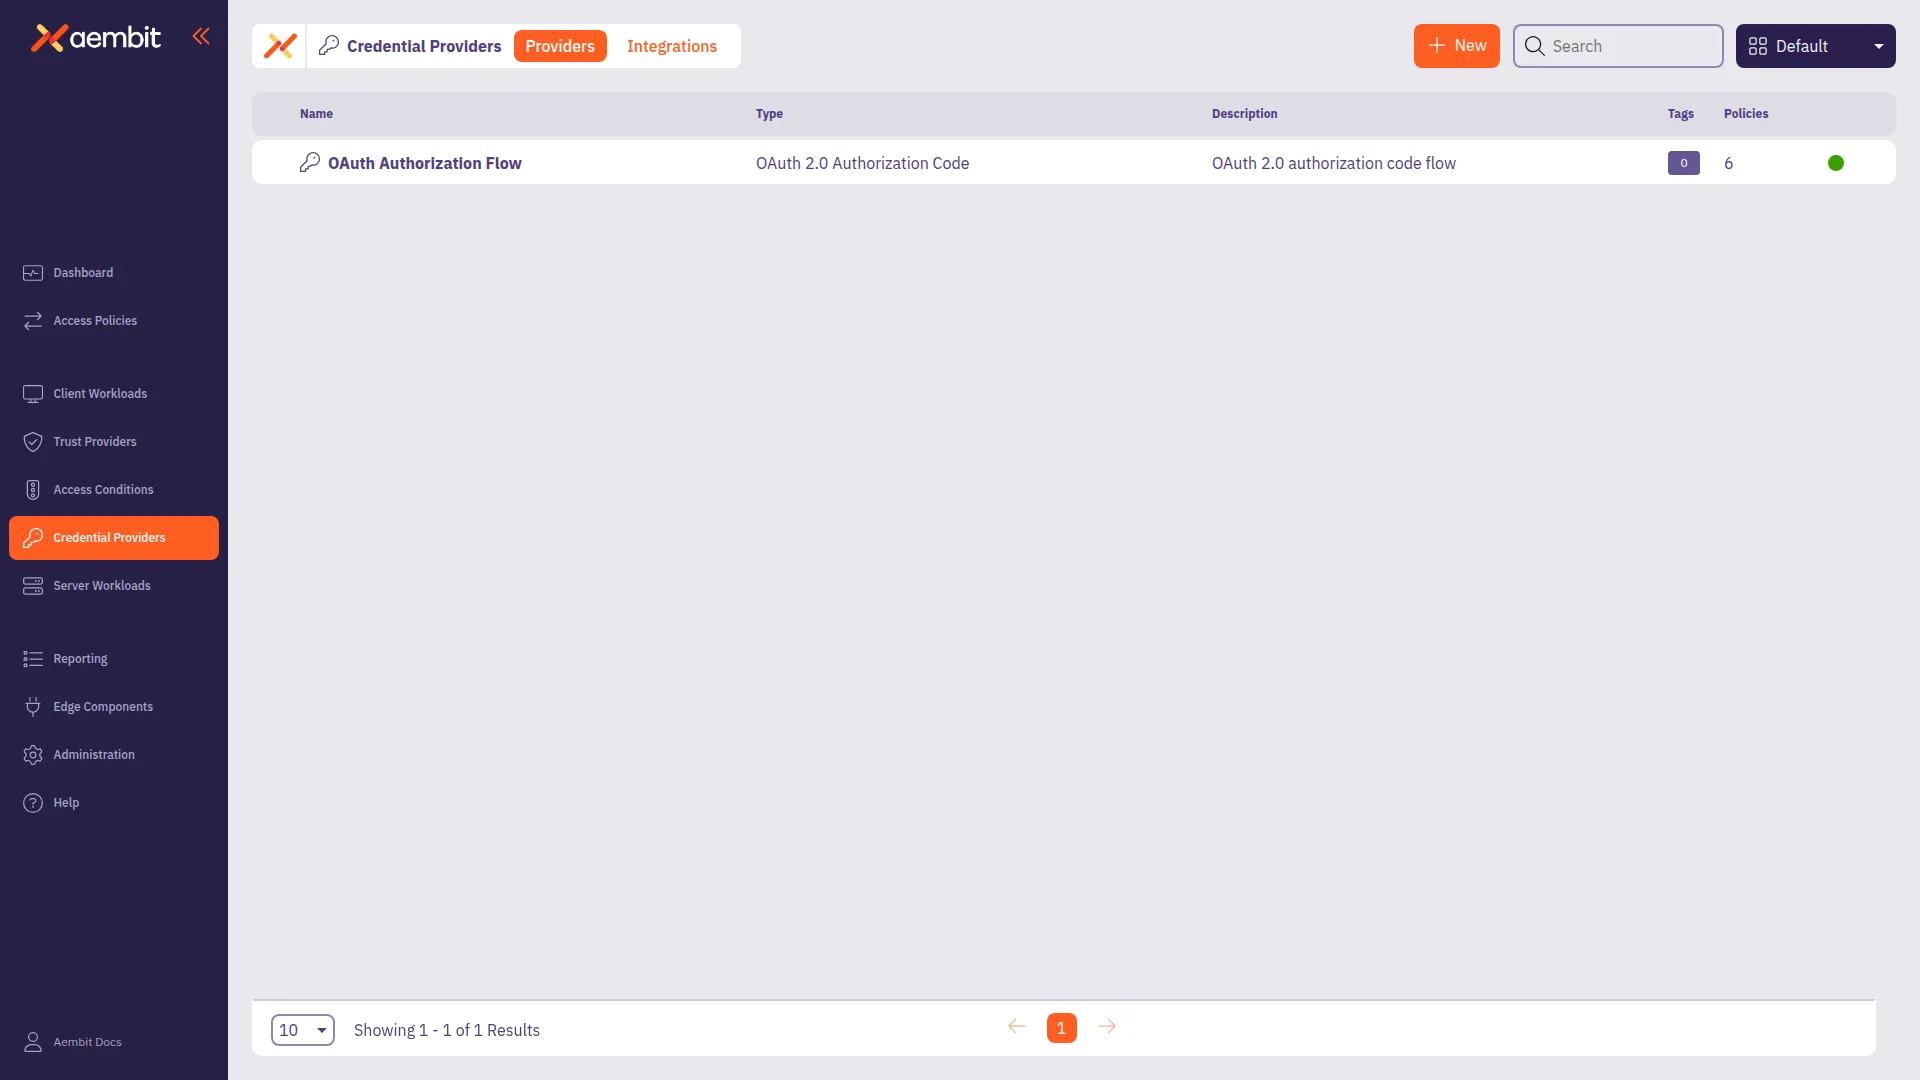
Click Credential Providers in the left sidebar.
-
Click New to open the Credential Providers dialog window.
-
In the Credential Providers dialog window, enter the following information:
-
Name - Name of the Credential Provider.
-
Description - An optional text description of the Credential Provider.
-
Credential Type - A dropdown menu that enables you to configure the Credential Provider type. Select OAuth 2.0 Authorization Code.
-
Callback URL - Aembit auto-generates this read-only URL that you must register as an authorized redirect URI in your third-party application. This is a centralized URL shared across OAuth 2.0 Authorization Code Credential Providers.
-
Final Redirect URL - Optionally enter the URL that Aembit redirects authenticated users after the OAuth authorization flow completes, instead of returning to the Aembit-provided Credential Provider page. Use this for custom or embedded integrations where users should return to your own application after authorization.
Contact Aembit support to enable this feature.
-
Client ID - The Client ID associated with the Credential Provider.
-
Client Secret - The Client Secret associated with the Credential Provider.
-
Scopes - The list of scopes for the Credential Provider. This should be a list of individual scopes separated by spaces.
-
OAuth URL - The base URL of all OAuth-related requests. Use URL Discovery to automatically populate the Authorization URL and Token URL.
-
Authorization URL - Redirect the user to this endpoint to authenticate and authorize access to your application.
-
Token URL - Exchange the authorization code for an access token at this endpoint.
-
PKCE Required - Configure Aembit to use PKCE for the third-party OAuth integration (recommended).
-
Lifetime - The lifetime of the retrieved credential. Aembit uses this to send notification reminders to the user before the authorization expiring.

-
-
Click Save. Your OAuth 2.0 Authorization Code Credential Provider now displays in the list of Credential Providers in your Aembit Tenant.
Authorize the Credential Provider
Section titled “Authorize the Credential Provider”After you save the Credential Provider configuration, authorize it to complete the integration with the third-party service:
- Click the Credential Provider.
- Click Authorize.
Aembit opens the third-party provider’s authorization page. - Log in to the third-party service and grant access. The third-party service redirects back to Aembit’s Callback URL, or the Final Redirect URL if one is configured.
The Credential Provider status changes to Ready, and Access Policies that use this Credential Provider can now inject credentials for workloads.