Configuring an external Identity Provider (IdP) allows you to offer alternate authentication methods for how users sign in to your Aembit tenant. For example, Single Sign-On (SSO) instead of the default authentication method of an email and password.
When you configure a SAML-capable IdP in your Aembit tenant, you must enter either your IdP’s SAML Metadata URL or Metadata XML information. If either of these items are present, Aembit provides the following in the Aembit UI:
-
Aembit SP Entity ID
-
Aembit SSO URL (for IdP-initiated SSO)
Configure an external Identity Provider
Section titled “Configure an external Identity Provider”To configure an external SAML-capable IdP to work with the Aembit IdP, follow these steps:
-
Log into your Aembit tenant.
-
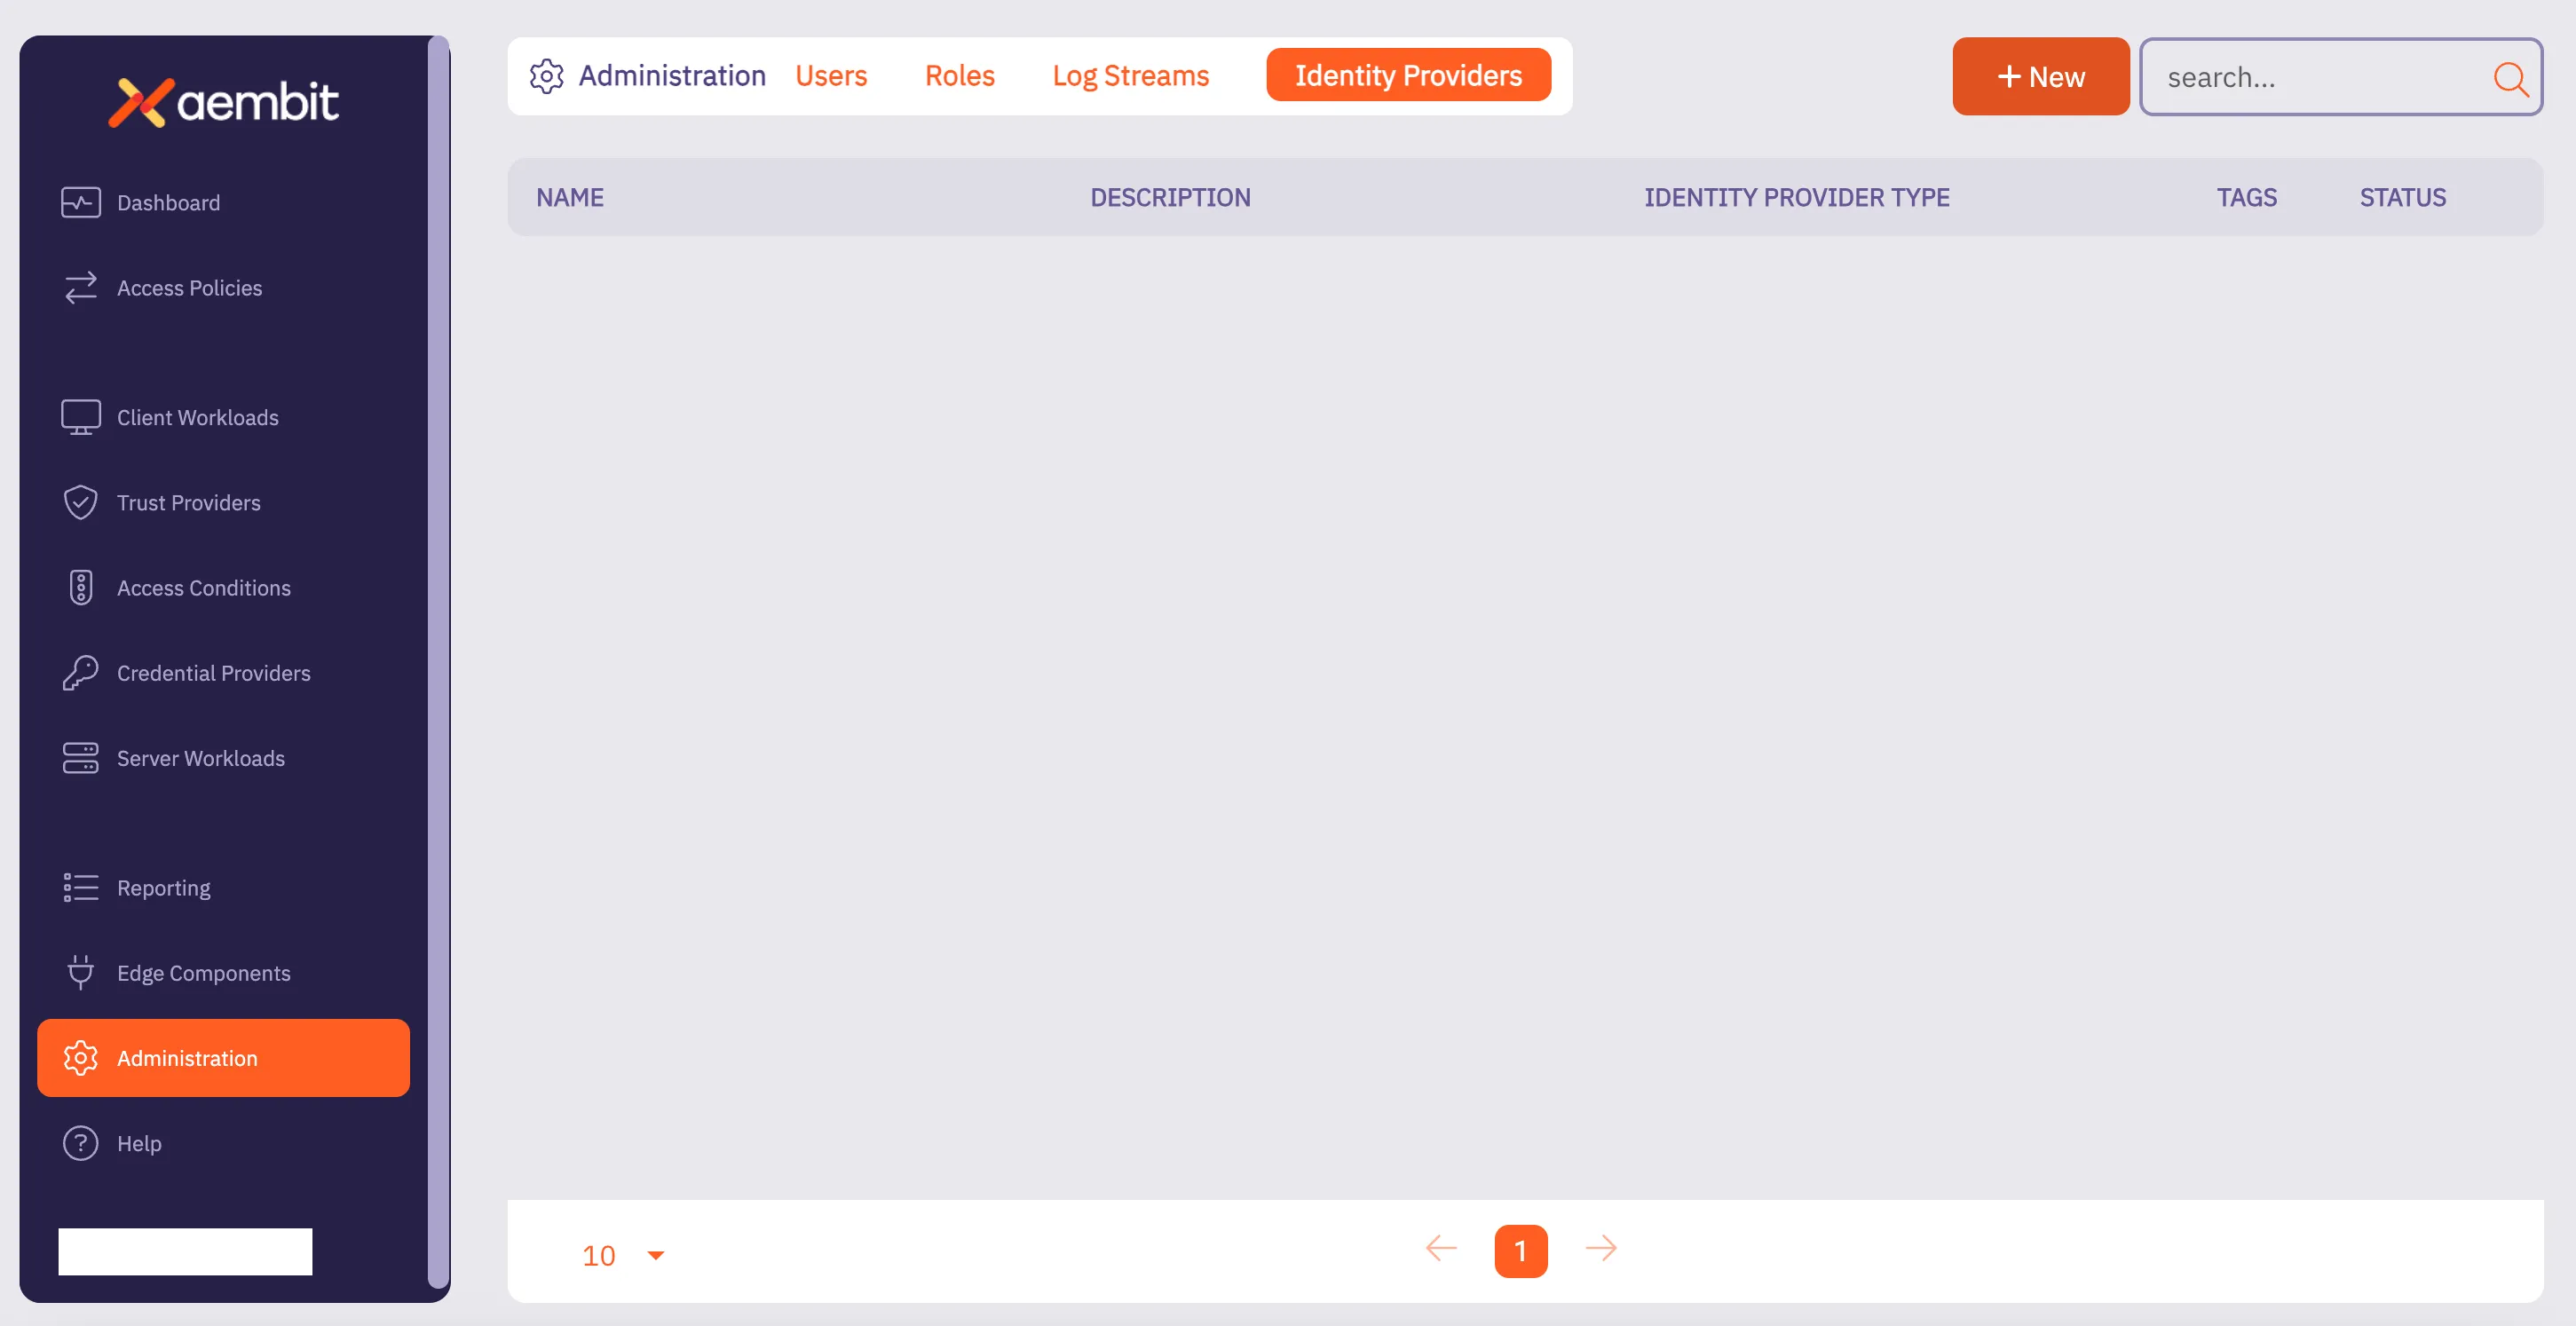
In the left sidebar menu, go to Administration —> Identity Providers.
-
Click New to reveal the Identity Provider page.
-
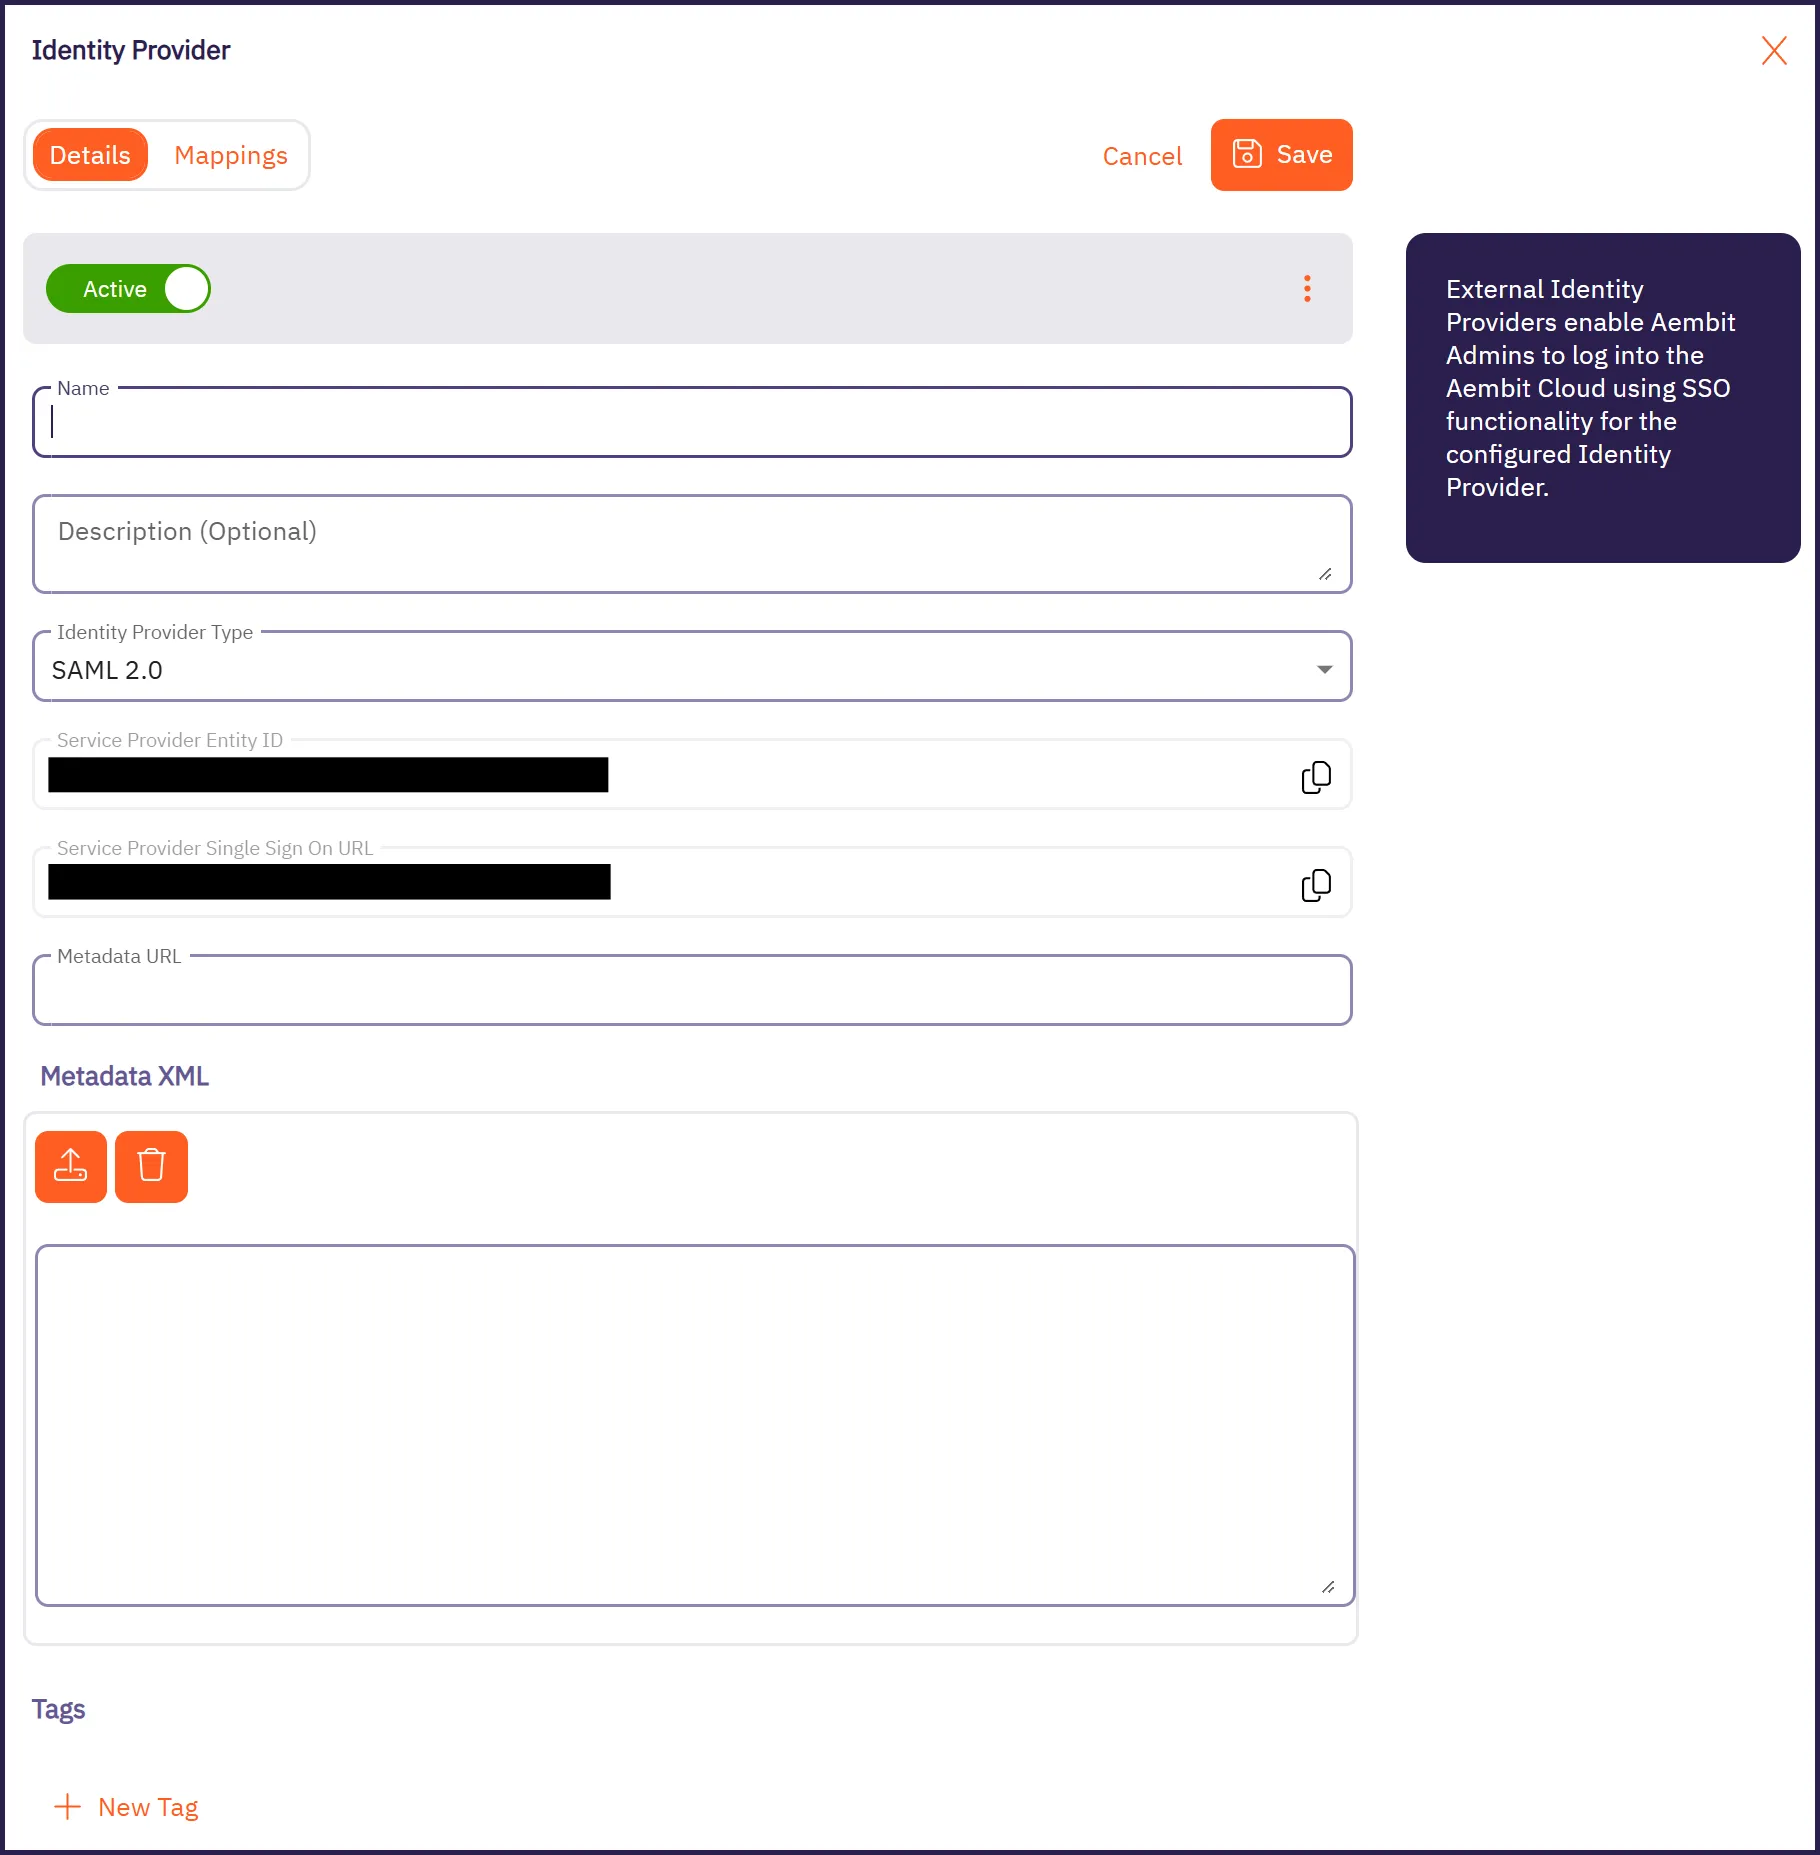
On the Details tab, fill out the following fields:
-
Name: The name of the SAML Identity Provider (for example, Okta SSO)
-
Description: A description of the SAML Identity Provider (this is optional)
-
Identity Provider Type: The type of SAML Identity Provider. Aembit only supports SAML 2.0.
-
Depending on your Identity Provider, either enter the Metadata URL in the Metadata URL field or use the Metadata XML field to upload an XML file with the Identity Provider Metadata information:
-
Metadata URL: The URL where Aembit can retrieve SAML metadata for a specific SAML-capable Identity Provider.
-
Metadata XML: Some Identity Providers may not provide a publicly accessible Metadata URL. In these cases, Identity Provider configuration may have an option to download the metadata information in XML form.
-
-
-
Optionally, in the Mappings tab of the Identity Provider page you may specify mapping information between group claims configured in your Identity Provider and user roles available in your tenant.
Adding this information enables automatic user creation based on the information in SAML response messages sent by your Identity Provider.
See Configure automatic user creation for more information.
-
Click Save.
Aembit displays the newly created SAML IdP listed on the Identity Provider page. Now, when your users log in to your Aembit Tenant, the login UI displays the available SAML SSO options similar to the following screenshot: